
Displaying Art Materials For All Ages
As The Carle’s Every Day Art Program Educator, I have the unique challenge designing the drop-in art activities for The Studio’s ongoing Every Day Art Program that change every 4-6 weeks. We regularly offer a variety of projects: bookmaking, painting, sculpture, collage, drawing and printing to name a few! Whether our guests are novice art makers or seasoned veterans, anyone can try their hand at our current activity and use the materials at their level of expertise.
One of the often overlooked details of designing each art project is figuring out the best way to organize the art materials guests will use at the tables in various sized baskets.

For one of our recent projects about map making I designed some fun new labels to organize the drawing tools into warm, cool and neutral colors. To help our young guests learn the different color families, the paper liners match each family. There are small dots matching the drawing tools’ hues and familiar images from Eric Carle’s The Very Hungry Caterpillar also in warm, cool or neutral colors. We use brass fasteners instead of tape to stick the cardstock labels to each basket. We prefer to use brads instead of tape or glue so the baskets don’t get as sticky over time.
The photos below are the basic steps we follow for labeling our baskets.
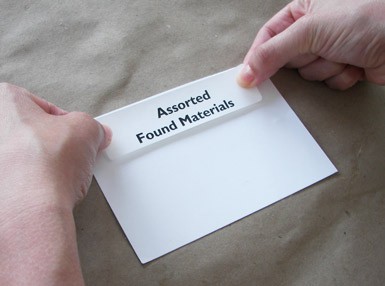
1. Stick the label to a precut piece of cardstock that fits snugly on one side of the basket.
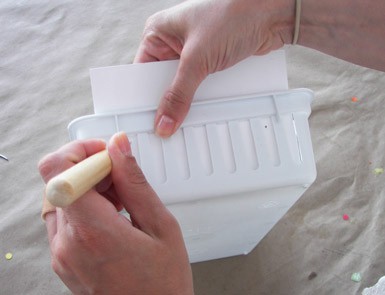
2. Use a bookmakers awl or another sharp tool to make a hole where you want your brass fastener to go.
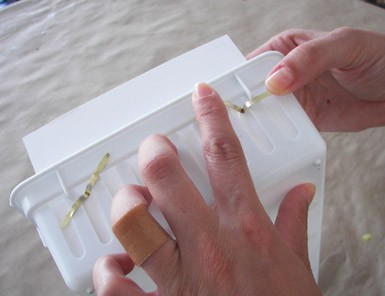
3. Secure the fasteners to the back of the basket and add the materials.
For wet or messy art materials we even laminate the labels to make them last longer. When the labels are not in use we store them in drawers by category, then they’re easy to find the next time we want to reuse them.


How do you organize the art supplies in your classroom or at home for children?
