
Accordion-Style Story Books
Children are naturally creative and eager to work collaboratively when given an inspiring project prompt. Creative story writing is a great way to recharge students’ inspiration when they may otherwise feel “stuck” with how to begin a story.
Helping children structure their words and drawings, first on story boards, then in a final handmade book is one way to get everyone excited about reading and writing. Keep reading to see how the books we made this summer “turned” out!
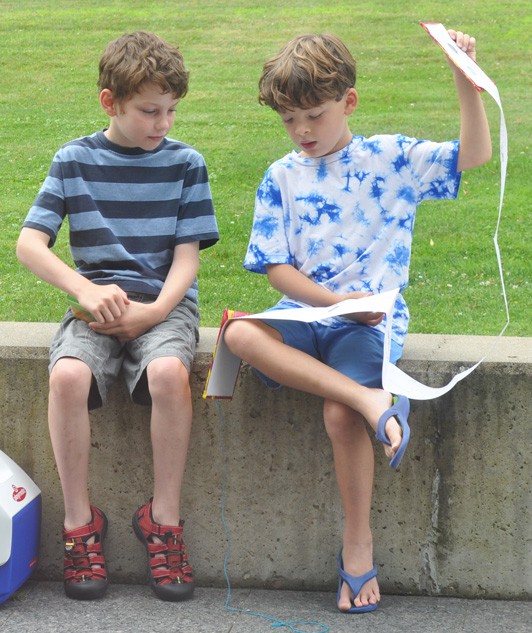
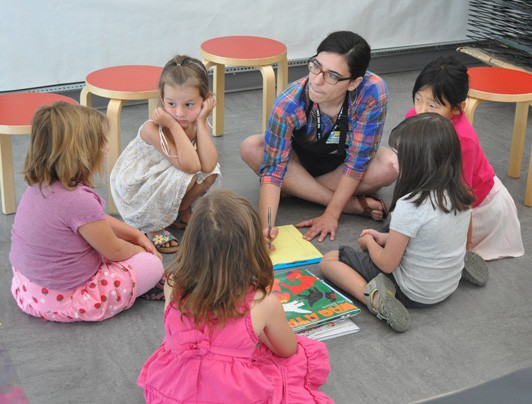
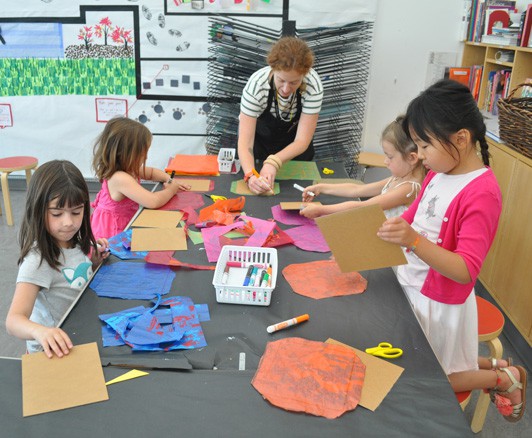
During our summer class series, Animals, Art and the Imagination, children learned about and met different live animals throughout the week-long classes and we designed various art activities with animal and nature themes. Following the first day’s sessions meeting therapy dogs from Bright Spot, we asked them to brainstorm a story about dogs. We divided the class into two smaller groups for the collaborative writing exercise. Kathryn and I acted as recorders and facilitators for the groups, repeating back ideas to further fuel their creativity, and jotting down the characters, plot, and settings of their stories. It was a great ice breaker, giving the children a chance to speak with each other comfortably and openly.
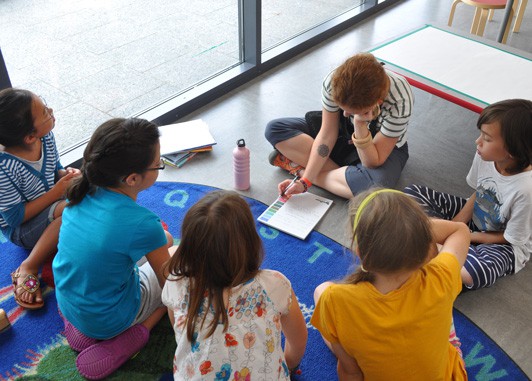
We decided to divide the group by age, the younger children, ages 5.5-6 in one group with Kathryn, and the older children, 7-10 in my group. The older children energetically built their ideas on top of each other (with lots of giggles and excited chatter) and diplomatically decided which ideas they did or did not want to include in the group story. The younger groups seemed to include everyone’s ideas in the story without worry if it made lots of “sense,” while the older group was more concerned with continuity.
The kids came up with some great ides! One of the groups decided there needed to be “good guys” and “bad guys” in their story. Mr. Pawlsmith (a dog) and Miss Meow (a cat) were a team of “bad guys” who stole jewels with the help of their team of squirrels and mice. Mr. Woof is the “good guy” investigator who tries to solve the mystery of the missing jewels. Another group’s story “The Puppy Time Machine” was about a dog who travels through time and accidentally upsets a dinosaur in the Jurassic Period, who chases him through time, visiting famous historical sites along the way. One of my favorite lines from one of the group stories, “Fletcher [the dog] and Hadley go on walks together. Fletcher also has a friend named Sheila. They eat ham sandwiches together.”
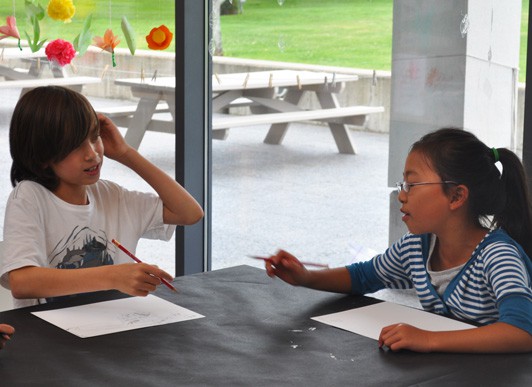
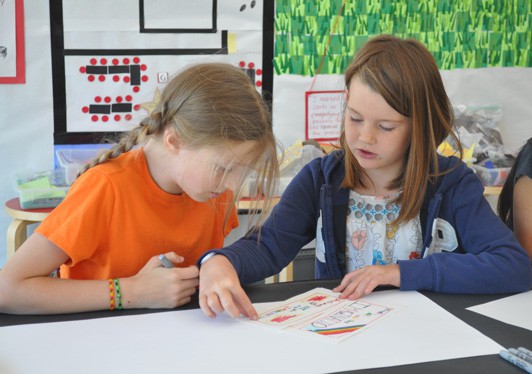
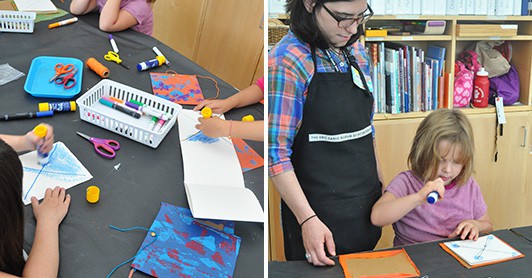
After the brain torming sessions, we asked students to work independently to create a story board with their favorite ideas from the group story. Collaboration continued as they worked on the story boards, still brainstorming possible plot twists, but it was also okay to go in their own directions.
Storyboards work like a comic strip: thumbnail sketches or small blurbs help to plan out what will happen on each page of the book they will make. They are a fun activity on their own, and are an exciting way to record the flow of ideas for a story.
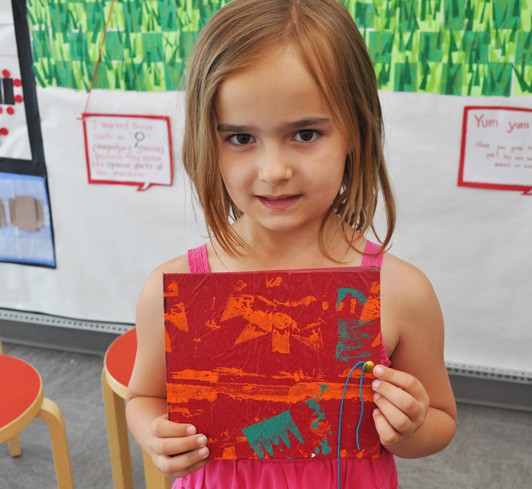
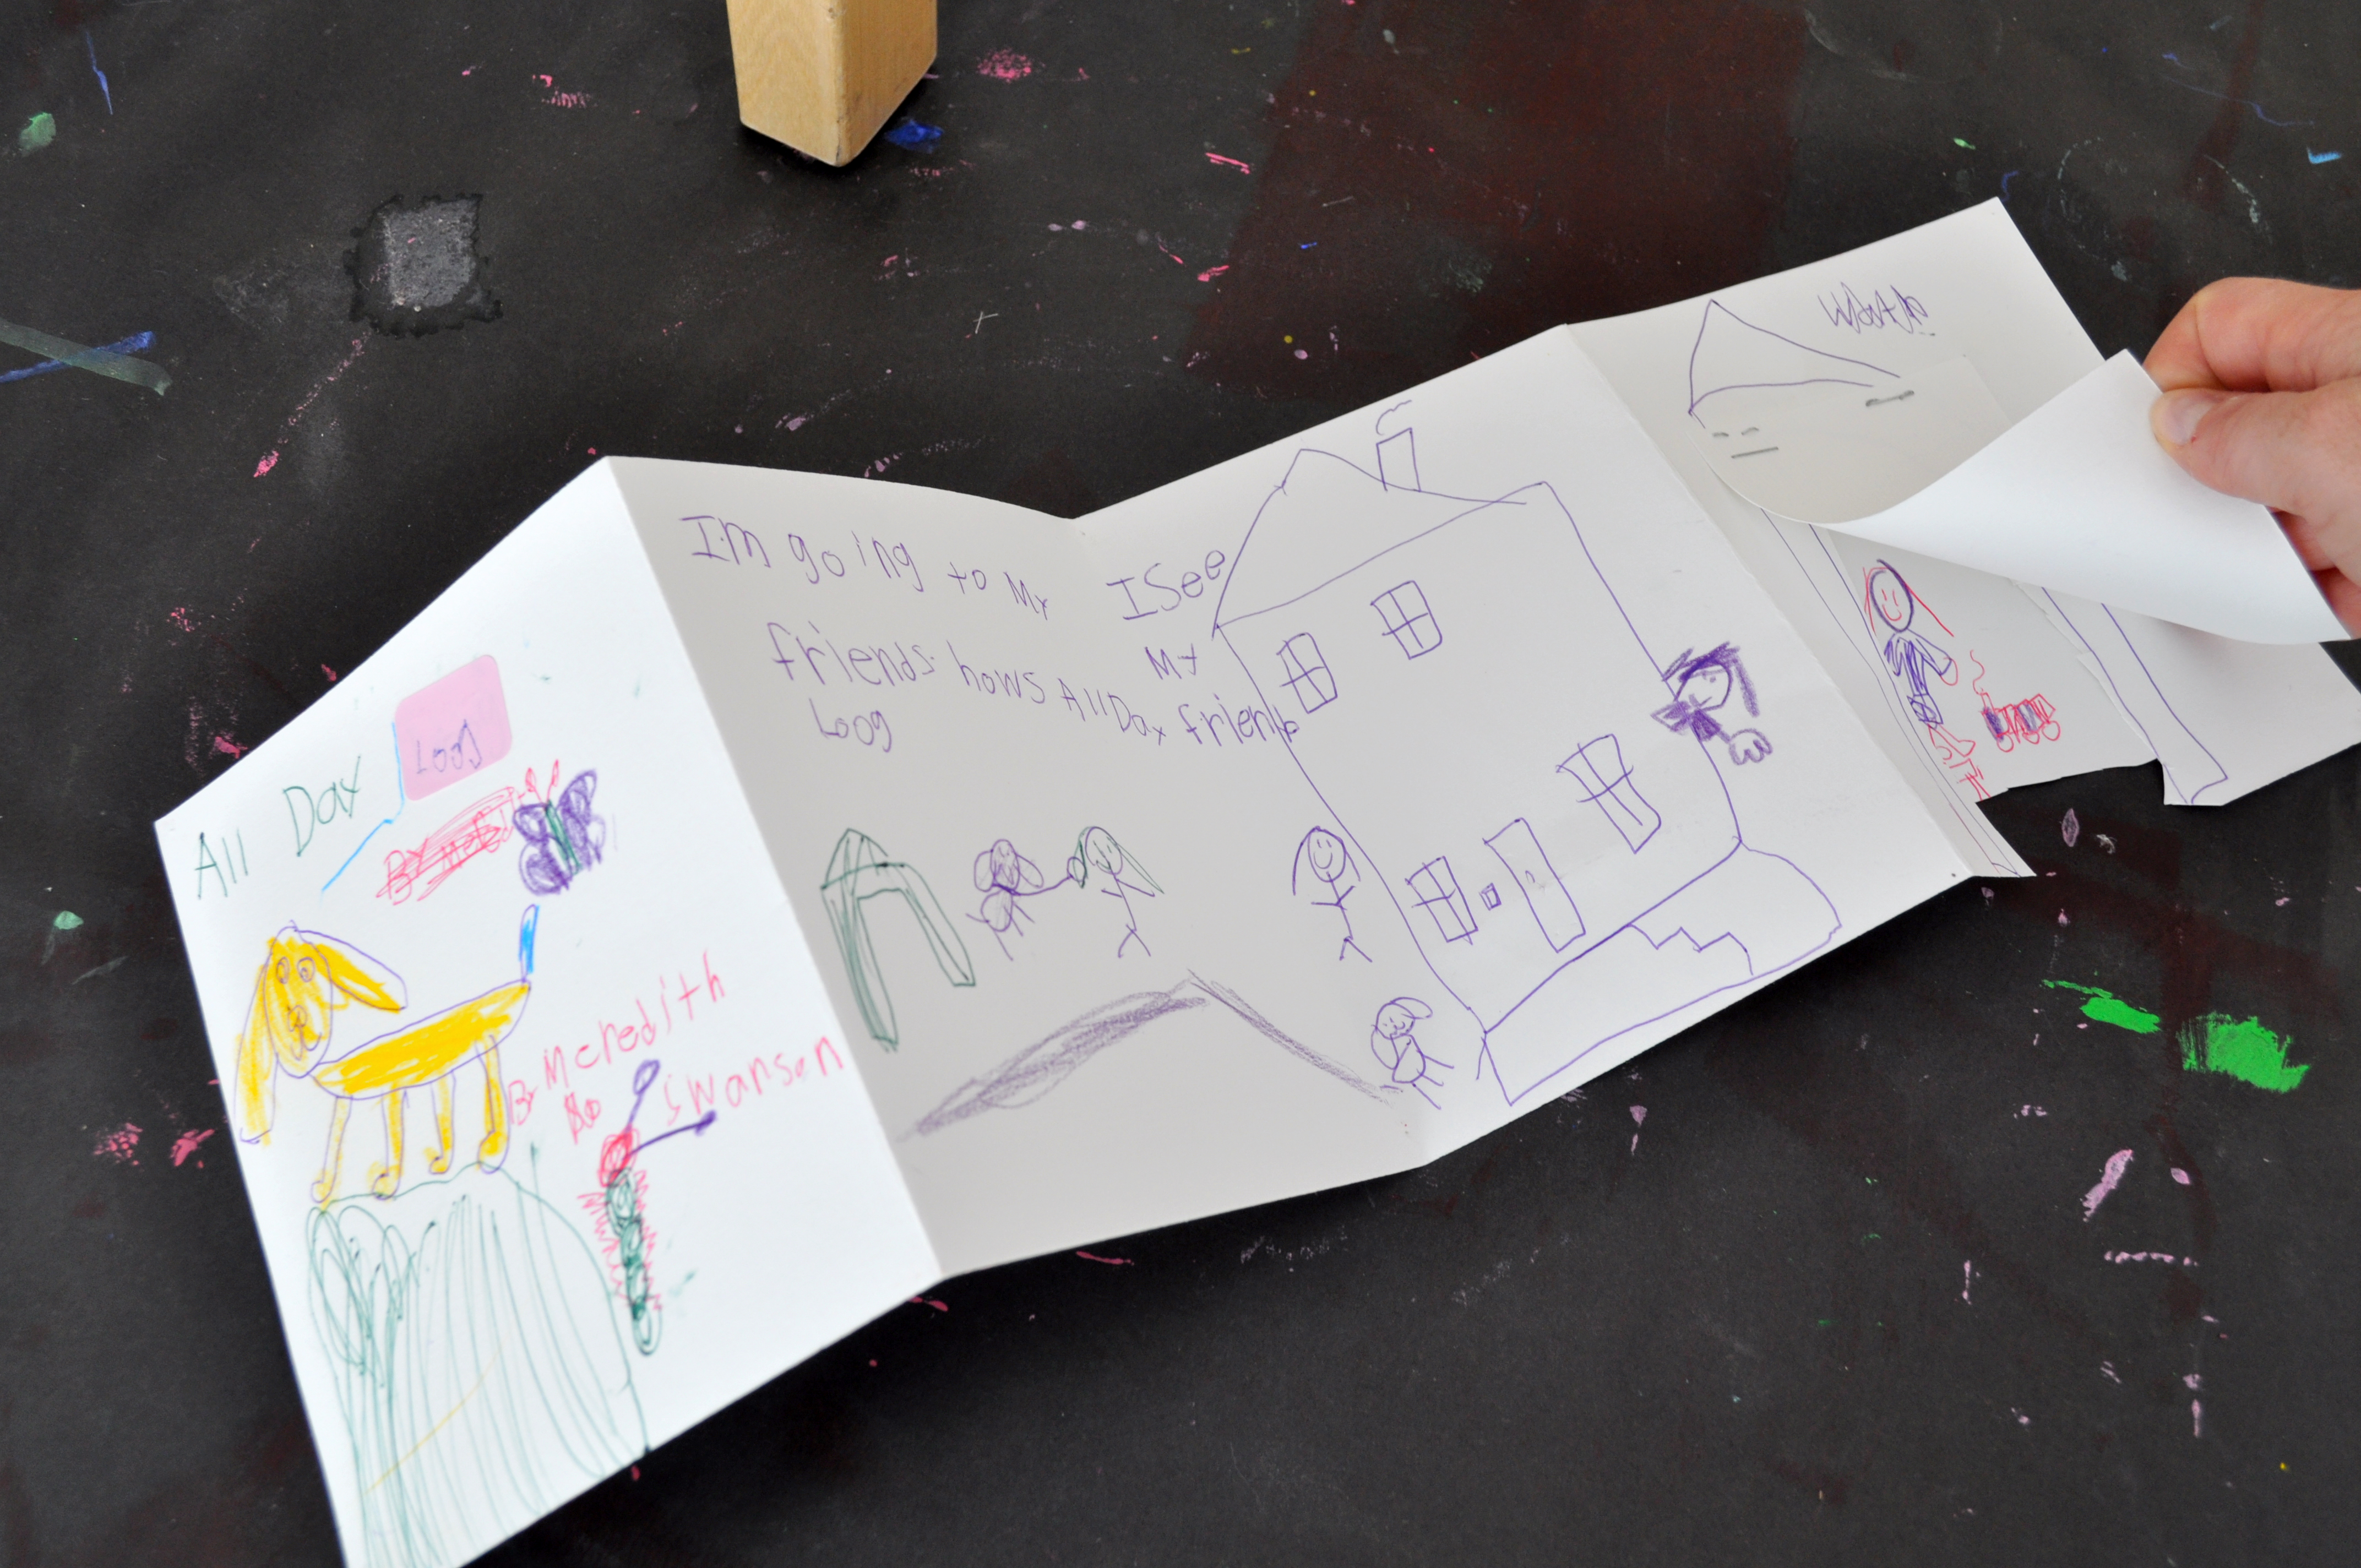
After the storyboards were finished or nearly finished, we started working on the final accordion storybooks with painted paper covers and a string to secure the book. They turn out looking like the book one Izobel made in the photo below.
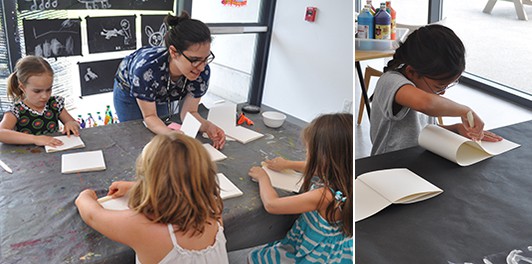
The first step is to cut long strips of student grade watercolor paper (or any sturdy white paper), ours were 6” high x 26” long. For a step-by-step tutorial, see How to Make an Accordion Book. We also provided bone folding tools to the children to help them make creases in the paper, but you can also fold without them.
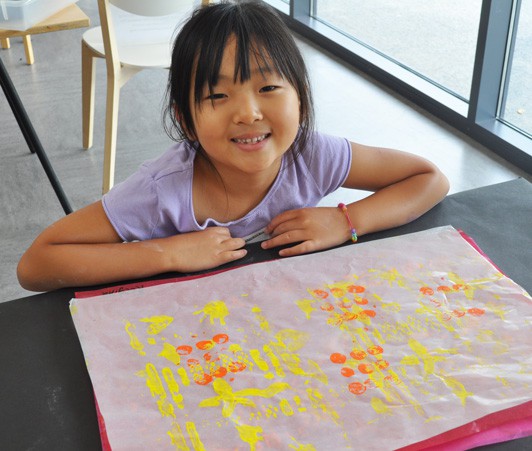
Once the paper strips are folded into the accordion, the next step is to make the front and back covers of the book. We used patterned papers printed the previous day with water bottles. The sheets were about 12”x ” and we cut them in half to make the covers. Learn how to make the same Water Bottle Prints here. You can use different paper to decorate the book covers, wrapping paper or any thin or light/medium-weight decorative papers will also work.
When the 6”x ” strip of watercolor paper was folded into an accordion it made 4 pages across, each page measuring 6”x6.5.” The book covers should be a little larger than the pages of the book on all sides, so we pre-cut chipboard covers (every student gets 2) adding 1/4 inch on all sides from the dimension of the closed book, measuring 6.5”x7.25.”
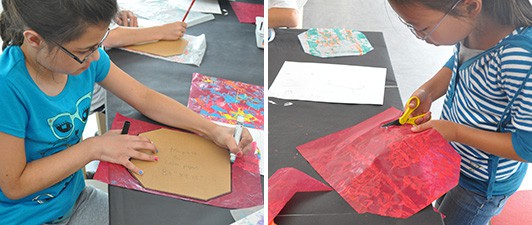
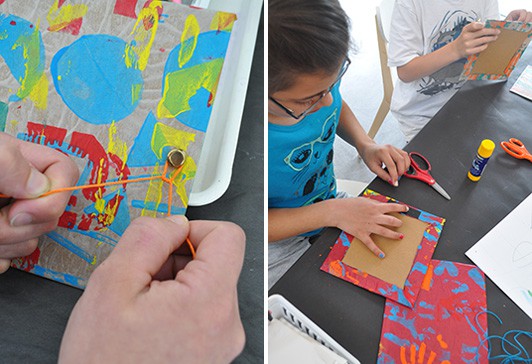
To make this process go smoothly with several children at once, we premade templates the size the cover papers needed to be. The octagon chipboard templates are easy to trace with markers on the back sides of the paper.
Then cut the paper along the line.
After the papers are cut out, but before gluing, figure out the position of the cover boards on the back sides of the paper.
Center the boards on the paper and trace around them. Then put glue all over one side of the boards and press down into the paper, lining them up in the middle again by following the guide lines you drew earlier.
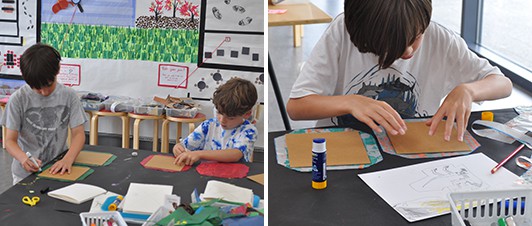
Next, put glue on the colored paper flaps on all four sides of the boards and wrap them around the board like a picture frame. These will be the insides of your covers and will be hidden later.
Here is an optional step, we punched a hole in the center of one side of the front covers to add a string-wrapping detail.
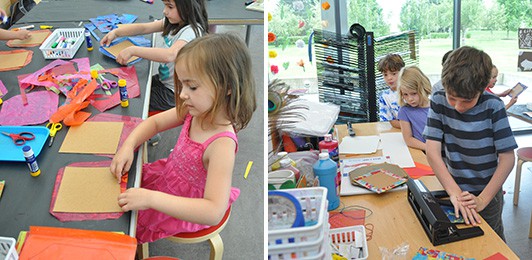
After punching one hole, fit a brass fastener (brad) in the hole with the smooth side towards the front. Knot a piece of string around the brad so the knot doesn’t show. The string should be at least 3-times the length of the book cover so it can go all the way around.
On the other side of the cover put a piece of masking tape over the arms of the brass fastener so they don’t wiggle around.
The final step is to glue the ends of your accordion to the covers. It helped to have everyone draw a big “X” on the sides of the book that needed to be glued down. Our favorite glue sticks by Prang show up blue when gluing and then dry clear, so children can easily see where their glue goes on the paper.
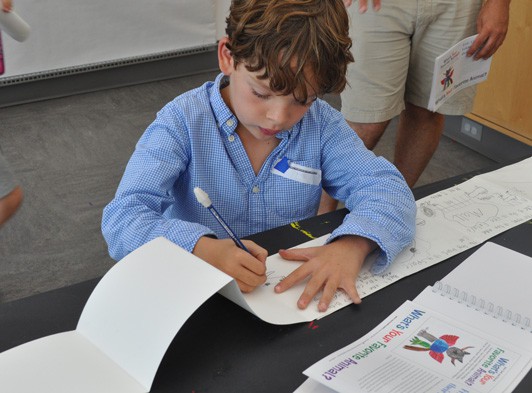
Using the story boards as a guide, it’s easy for children to add their ideas to each page of their final book.
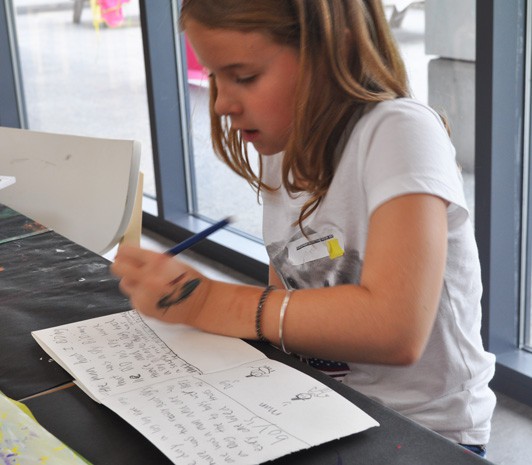
The Dog Books became an ongoing project throughout the weeks that some of the students were the most excited about making. In some situations we had to “tear them away” from working on it so we could work on other projects, or go to lunch! A few books needed to be very long to fit all the ideas on the pages.
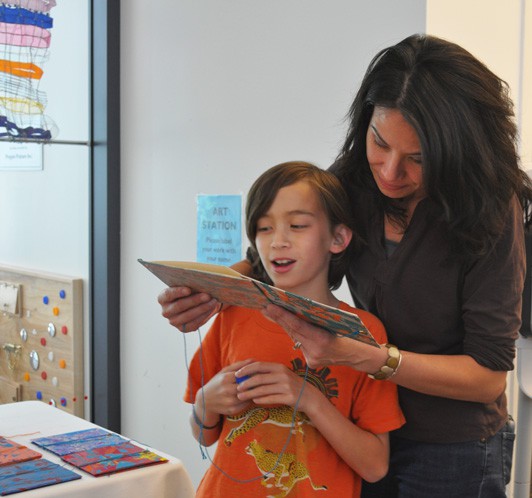
Sharing stories with other people is perhaps the very best part of bookmaking!
Making Art with Children is generously sponsored by the Massachusetts Educational Financing Authority.