
Painting with Drips and Sprays
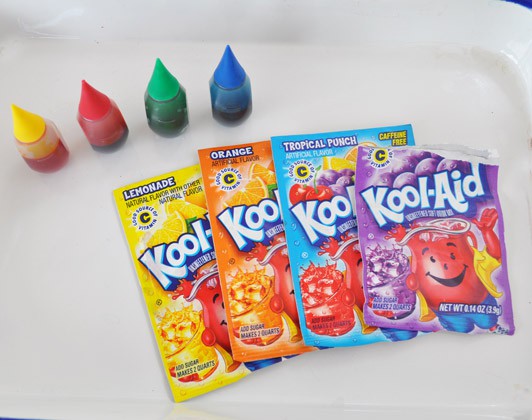
Spring and summer are prefect times of year for outdoor art making! Step outside and experiment making drip and spray paintings with supplies you may already have around your house. For this tutorial we used Kool-Aid and food coloring mixed with water to make our colors, but you could use any watercolors or watered-down water-based paints you already have. Unsweetened drink mixes such as Kool-Aid are fun to use because when they dry the fruity smells stay behind, so your paintings will be scratch and sniff!
Collect some clean, empty spray bottles and droppers from around the house, or find some new travel-sized bottles at your grocery or big box stores. We found that using several drip-makers made the best variety of marks on the paper.
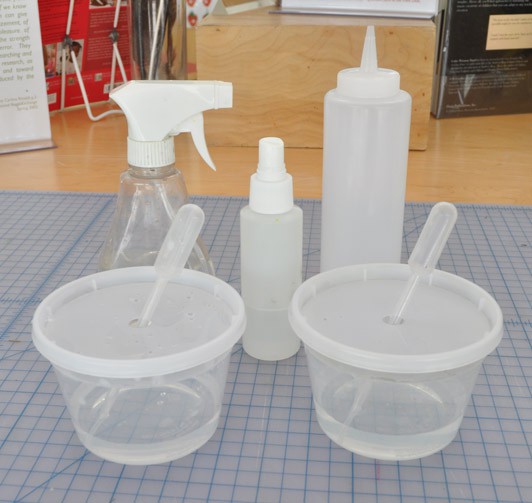
Worried about too much spilling? We made our own “no-spill” paint cups for the pipettes made from deli containers. Cut a hole slightly larger than your pipette or eye-dropper and snap the lid securely to the container. Fill up to half-way with water (or paint) and it will stay spill-free if it get’s knocked over!
First mix the Kool-Aid and food coloring into your various containers, for this tutorial we stuck to lemon and grape Kool-Aid, and yellow and blue food coloring to keep our palette from getting too muddy.
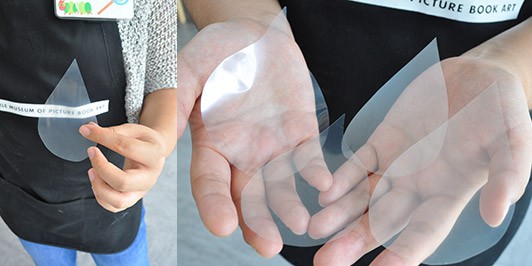
Next, we cut out a variety of simple teardrop shapes from a leftover sheet of plastic we had. You can use any paper or plastic to make your stencils, the thicker the better so the colored water doesn’t seep through (unless that’s the look you’re going for) and cut them into any shape you like with scissors or an Xacto knife. You don’t need to use stencils at all for this project! Only add them if you want to experiment with drips and sprays further.
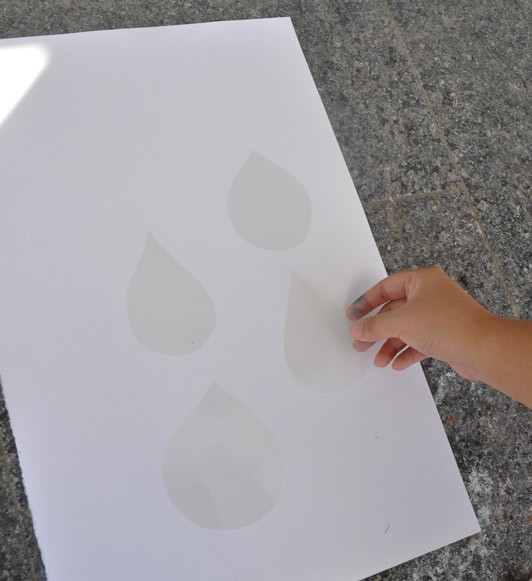
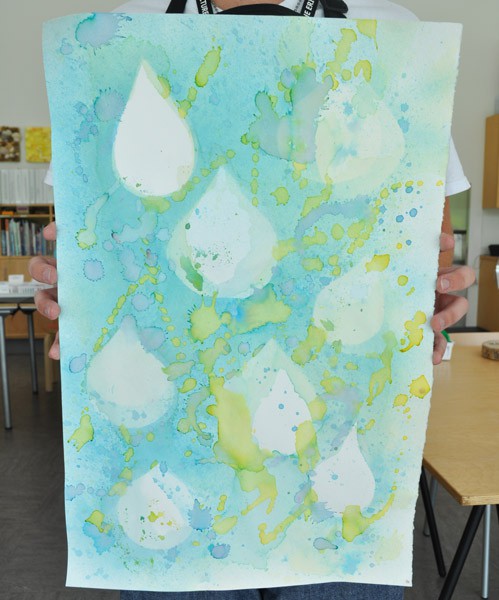
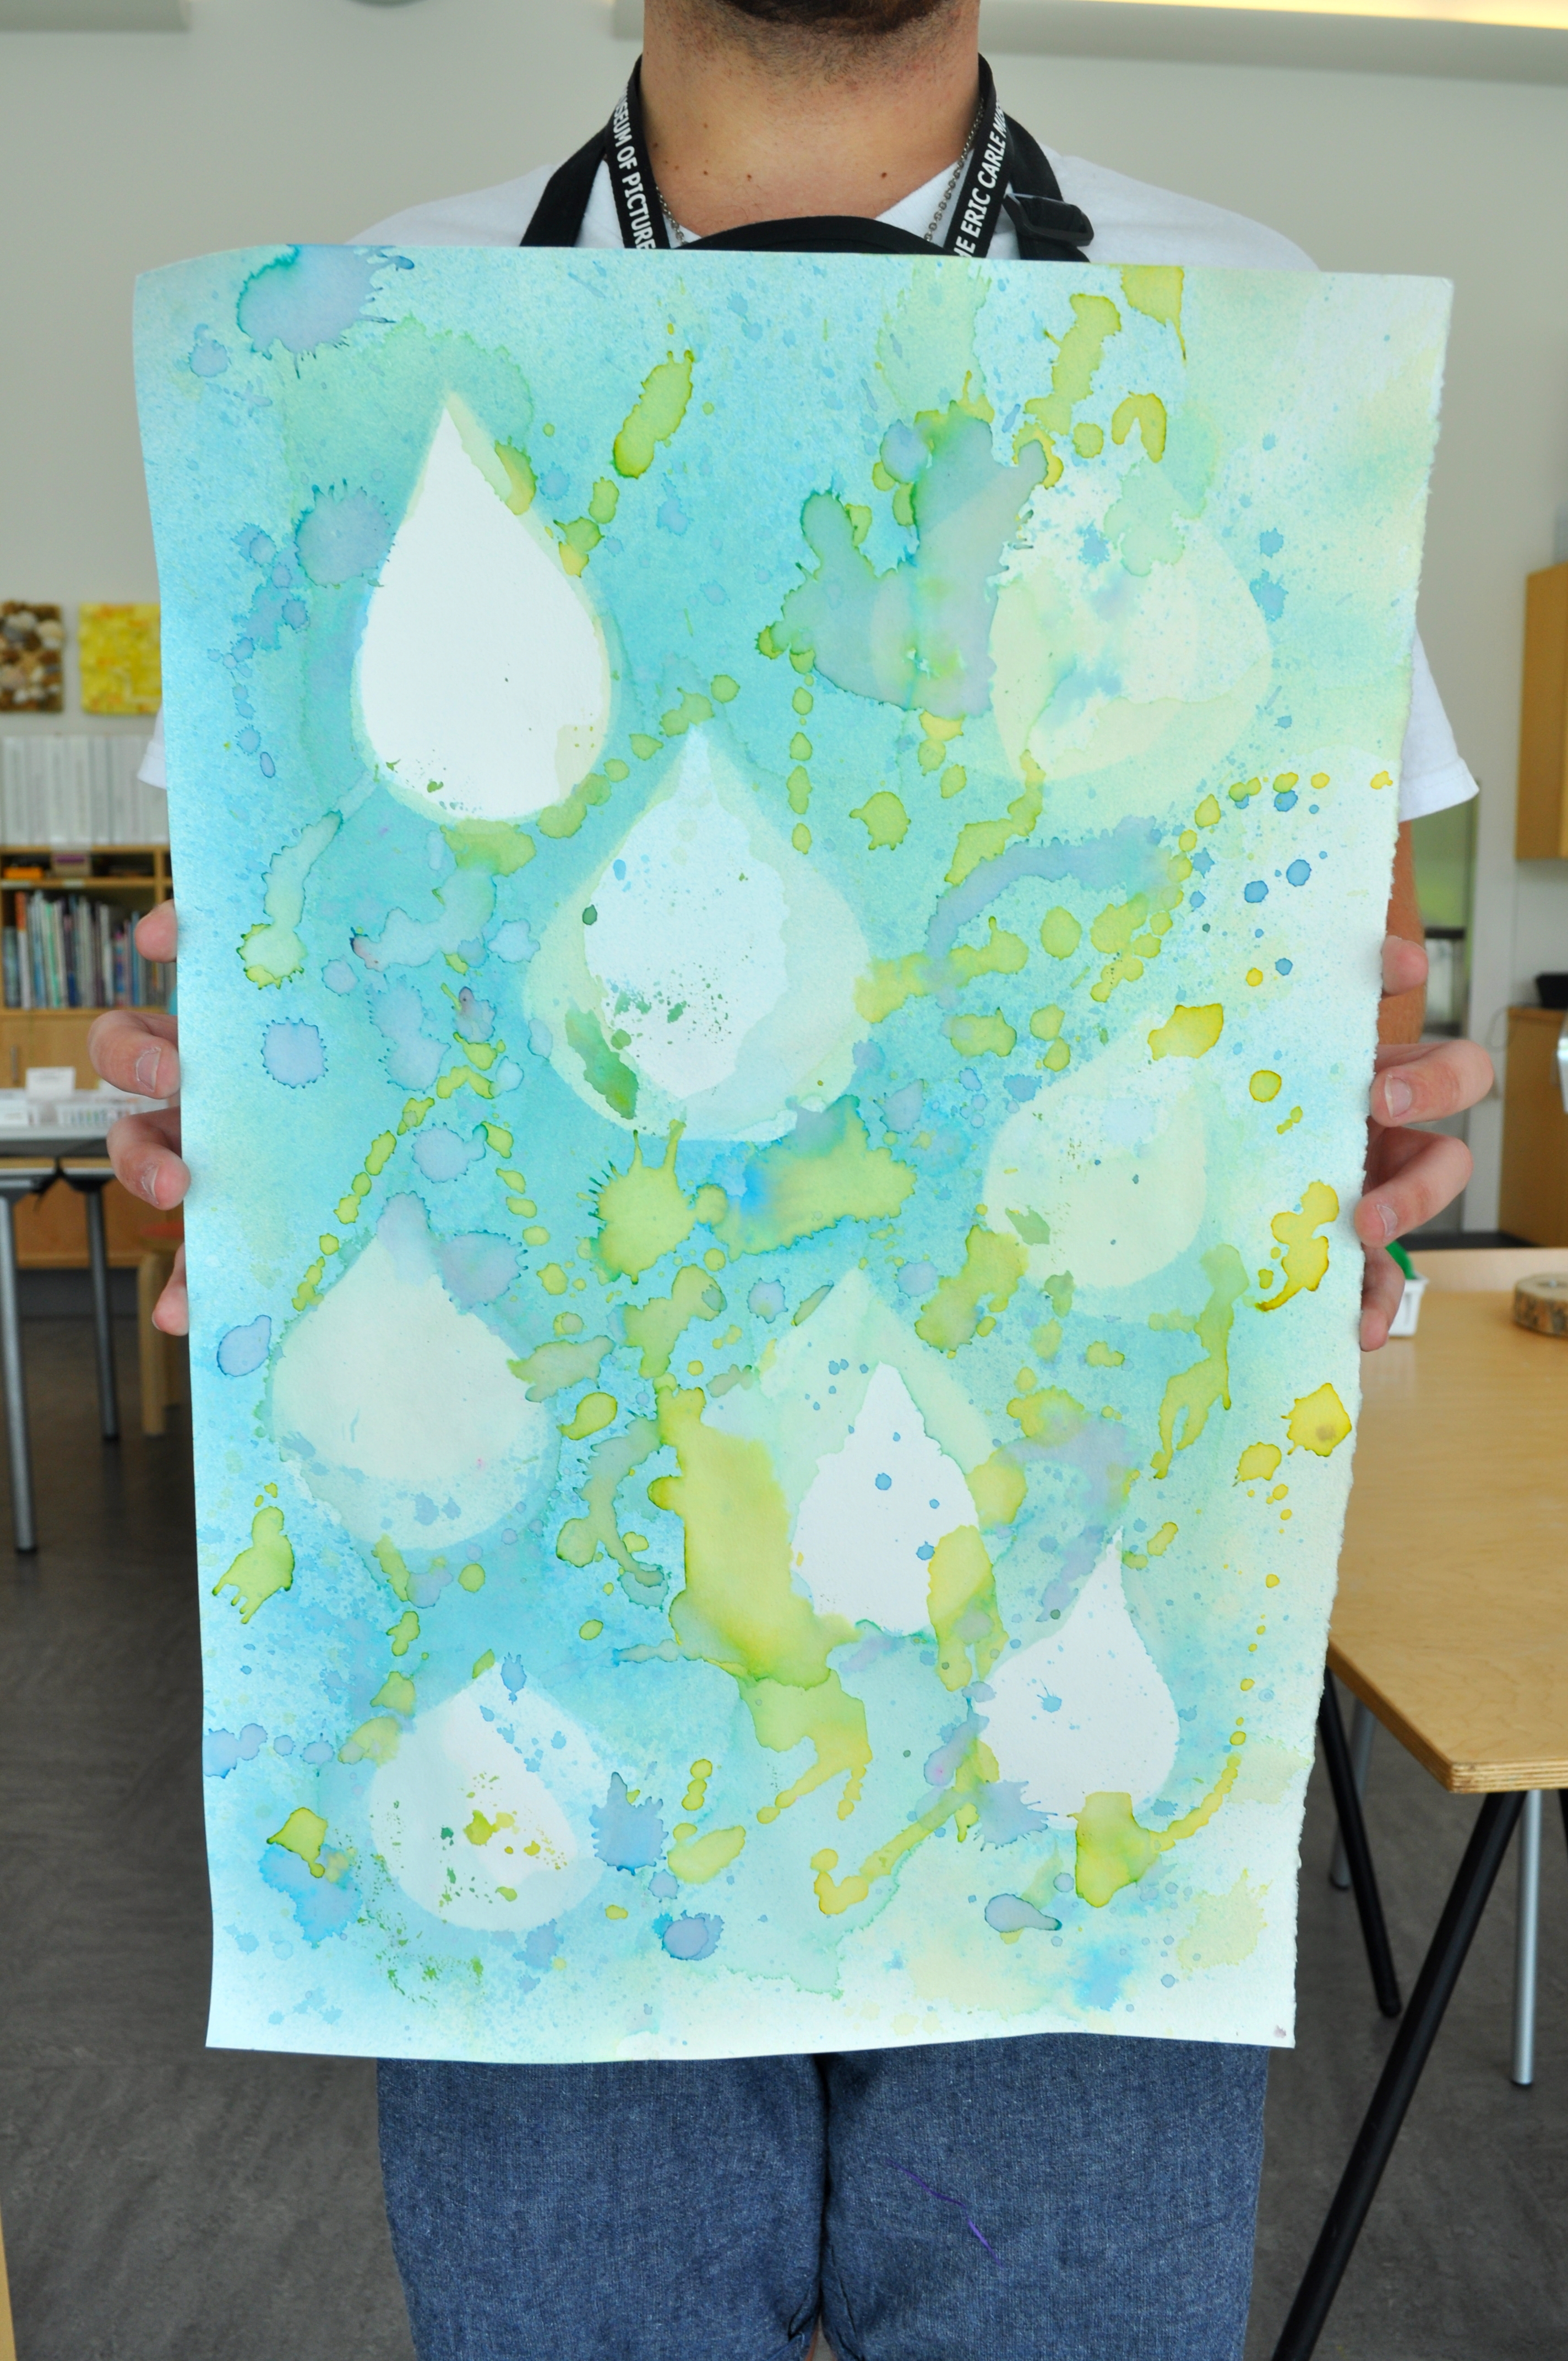
Position your stencils on your paper, we positioned our teardrops on a large piece of watercolor paper. This project is more fun to work large. Thicker paper like watercolor paper will absorb more water than thin paper (like printer paper), and is less likely to tear when wet. If you only have thin paper, put some layers of newspaper underneath to help absorb the extra water. It will still be very wet, but this will help a little!
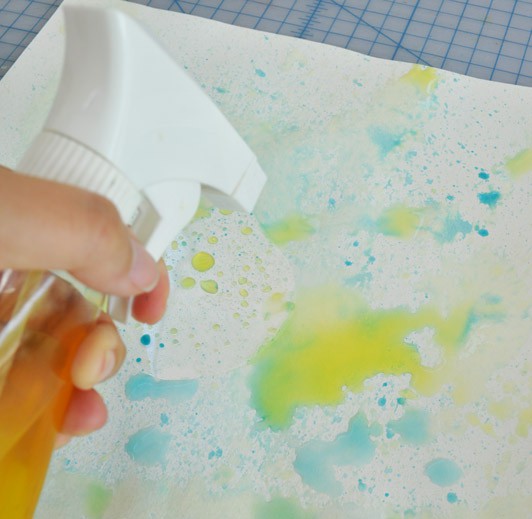
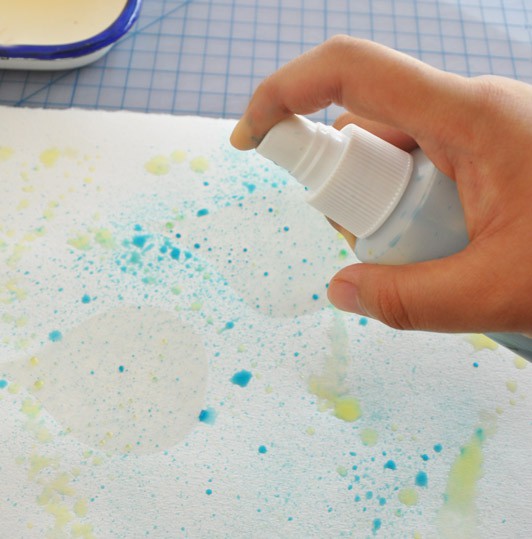
Begin experimenting with your different bottles and droppers. Here we used a spray bottle filled with yellow Kool-Aid.
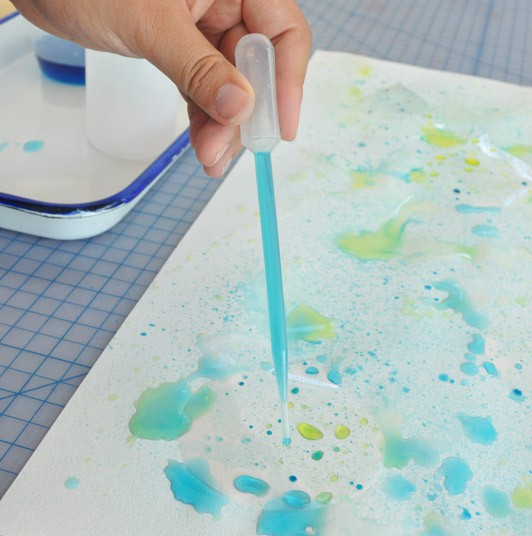
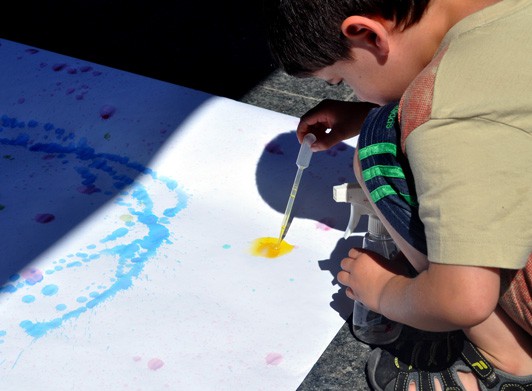
This pipette is filled with blue food coloring (search “transfer pipette” for the kind we used here). Experiment with the height and angle you spray or drip the paint.
What happens when you spray from high above the paper?
Or squeeze the pipette right against the paper? What marks can you make when you wave the pipette as you drip the paint? What happens when you use gravity to move your drips?
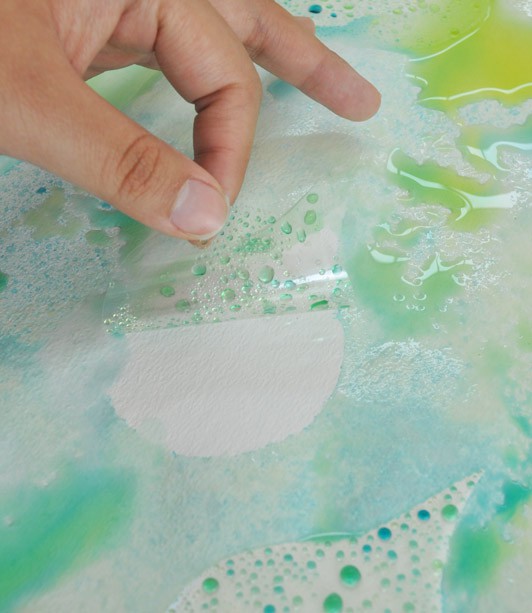
You can see the paint starts to gather and bead around the plastic stencil shapes. The small travel-sized spray bottle pictured below makes a fine mist, while our larger sprayers made bigger droplets.
Consider leaving your work to dry before adding more layers. You could speed up this process by anchoring them with rocks and leaving them to dry in the sun.
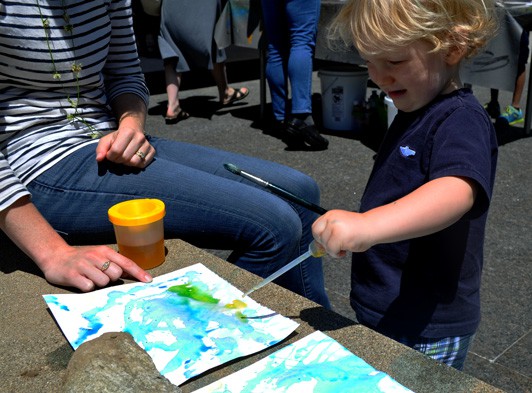
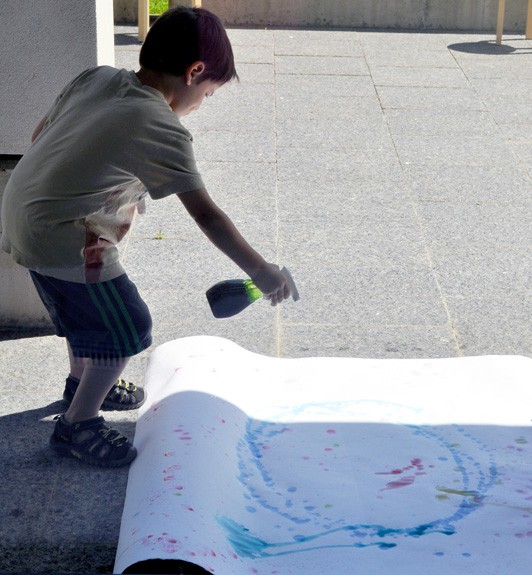
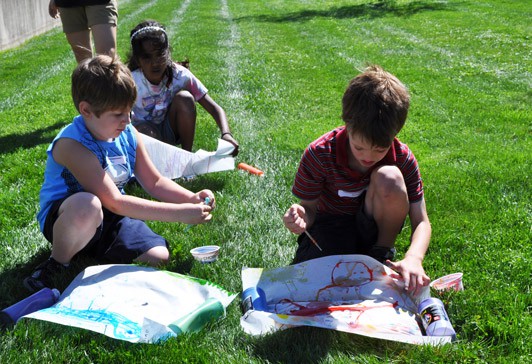
Working in the grass is also fun!
Move your stencils around before you work on your next layers to get interesting layers and overlapping marks.
We squeezed air in and out of an empty catsup bottle to push the puddles of water around the paper.
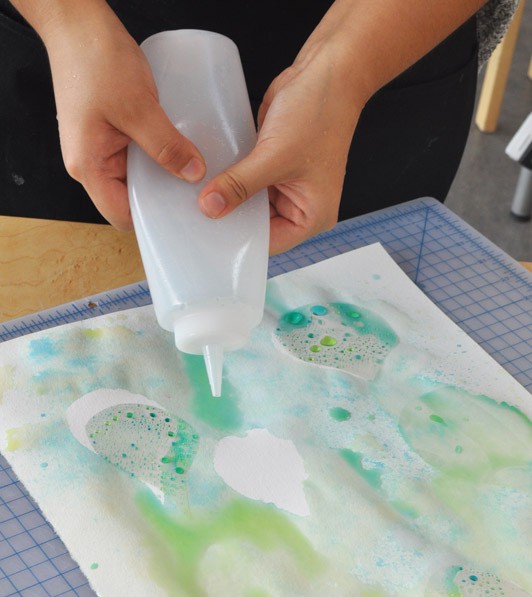
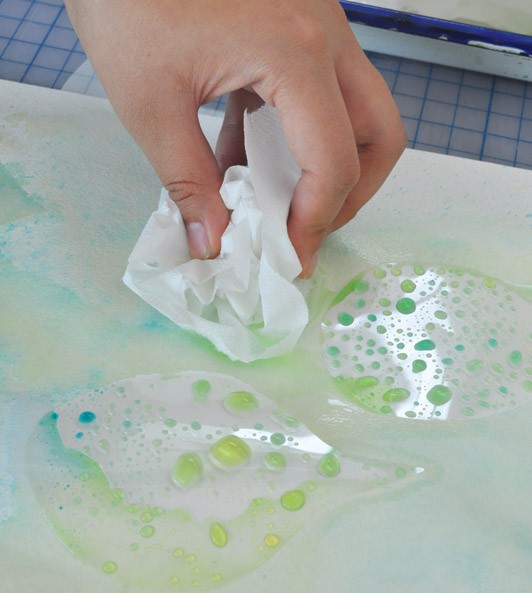
Or try blotting off excess water with a paper towel in certain areas. Don’t blot everywhere or your detailed sprays and drips will disappear.
We recommend starting with more muted colors and building up the intensity of the colors as you add more layers. When the Kool-Aid and food coloring water mix dries it loses some of its color intensity, so for a vibrant painting increase how much color you add to the water, and to make your colors soft and muted dilute them in more water. For the final layers of our painting we used very intense colors to drip across the paper.Test out mixing your colors and see what you prefer!
A big thank you to The Studio’s Summer Intern, Caryn Moon for helping me document this post.

Our interns play an important role in sharing what happens in the Studio here on our blog, and our summer months are always the busiest! We will miss Mitchell and Caryn when they leave later this month and go back to college. Learn more about our internship programs here.
Making Art with Children is generously sponsored by the Massachusetts Educational Financing Authority.
