
Article Type
Making Art
Making Art Together Categories
Infants and Toddlers
Painting
Printmaking
Gross-Motor Bubble Wrap Stamping
August 15, 2015
We offered this exploration to activate our toddler and preschool guests’ gross-motor skills.
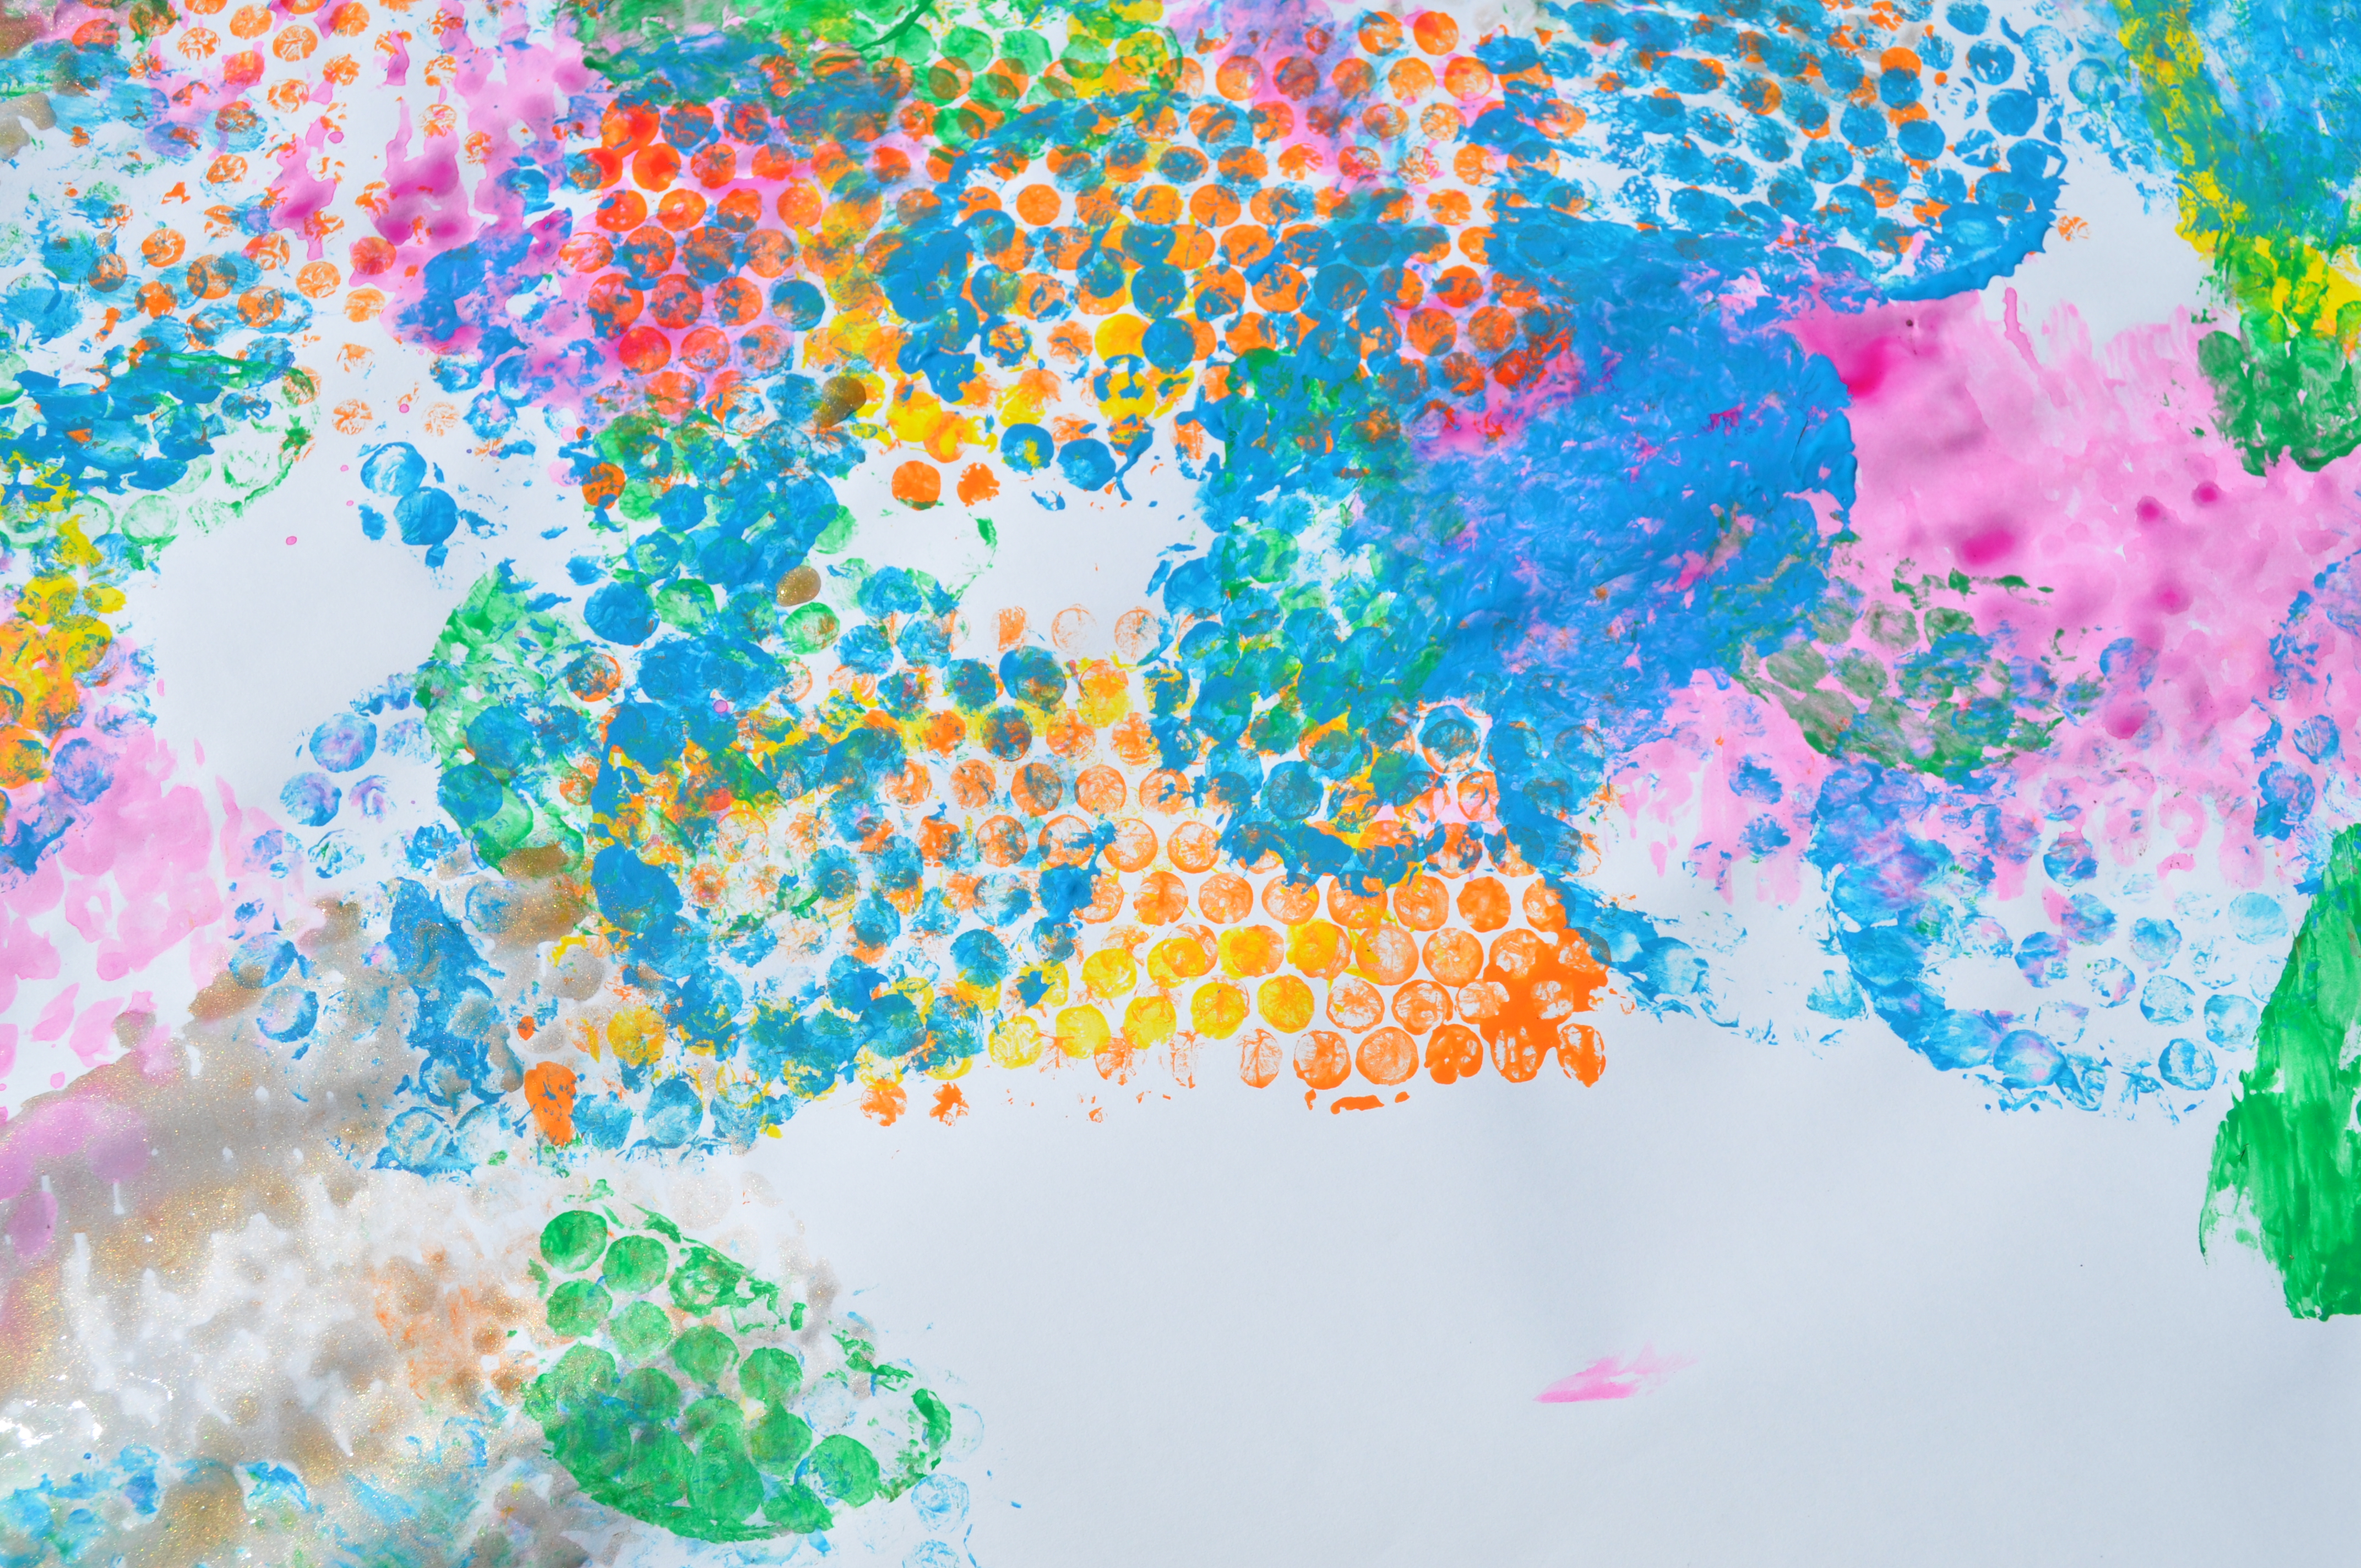
Through printmaking with big, homemade bubble wrap stamps and large sheets of drawing paper, this exploration had kids reaching, crawling, and walking, as well as sharing and turn-taking.

On this particular day, conditions were favorable for creating out on the Art Studio’s Terrace, so we were able to accommodate anyone who came to the studio this morning. It was fun for more than our toddler and preschool guests. Big sibs, cousins, and parents all had fun too.

To make the large stamps, we used double sided adhesive to attach pieces of bubble wrap to foam trays, yogurt cups, and other flat-bottomed (clean) food containers. When we make bubble wrap stamps we like to cover the object that will serve as the handle or base with double-sided adhesive and then attach a piece of bubble wrap, slightly larger than the object, and finally trim bubble wrap with scissors. We happen to have 6” double-sided adhesive on a roll, but double-sided tape or glue dots would work too.

For each stamp, we spread about one tablespoon of washable tempera in thin layer in a shallow tray using a palette knife/ink scooper. (A rubber spatula or small square of scrap cardboard would do the same.) We added more paint to the trays as needed rather than add too much at the start. Too much paint on a stamp makes for smudgy, gunky images. As an alternative to putting paint in a tray, you could use also use commercially made or homemade stamp pads if you create stamps to fit.

We did need plenty of rocks and heavy trays to keep the papers from flying away. This would also work well on a long strip if wrapping or butcher paper taped (or clipped!) to a picnic or folding table.
The stamped papers could be enjoyed as is, turned into collage paper, book covers, gift wrap, etc.
Get outside and get creating!
Many thanks to Art Studio Volunteer Anne C. Taylor for shooting and editing the photos for this post.
Authors
Explore Further


