
How to Make an Accordion Book
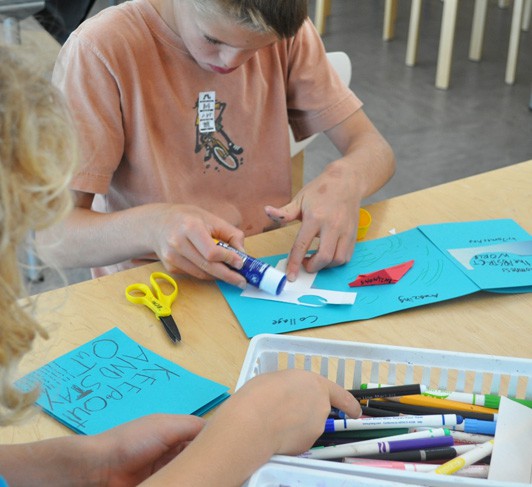
These are the steps we walk through when we make accordion books with kids:
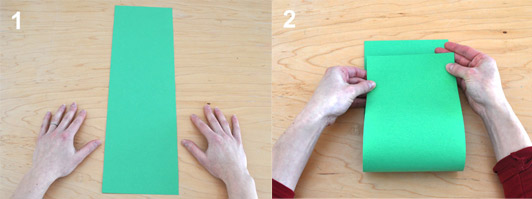
1. Start with a long strip of paper
2. Fold it in half, matching up the corners of each end of the strip.
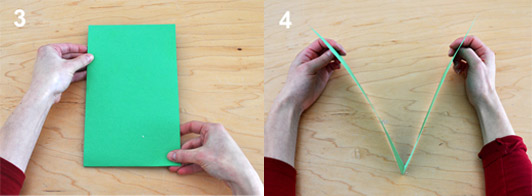
3. Press the paper flat with the palm of your hand. Make a crease along the folded end of the strip
4. From the side your paper should be in the shape of the letter “V,” for “Valley.”
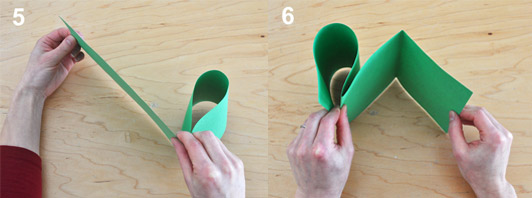
5. Fold down one side of the “V,” back down towards your first fold. Press it flat with your palm and fingers.
6. Fold down the other side of the “V,” back down towards your first fold. Press it flat with your palm and fingers.
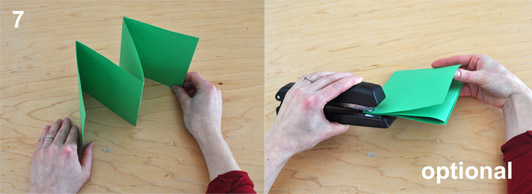
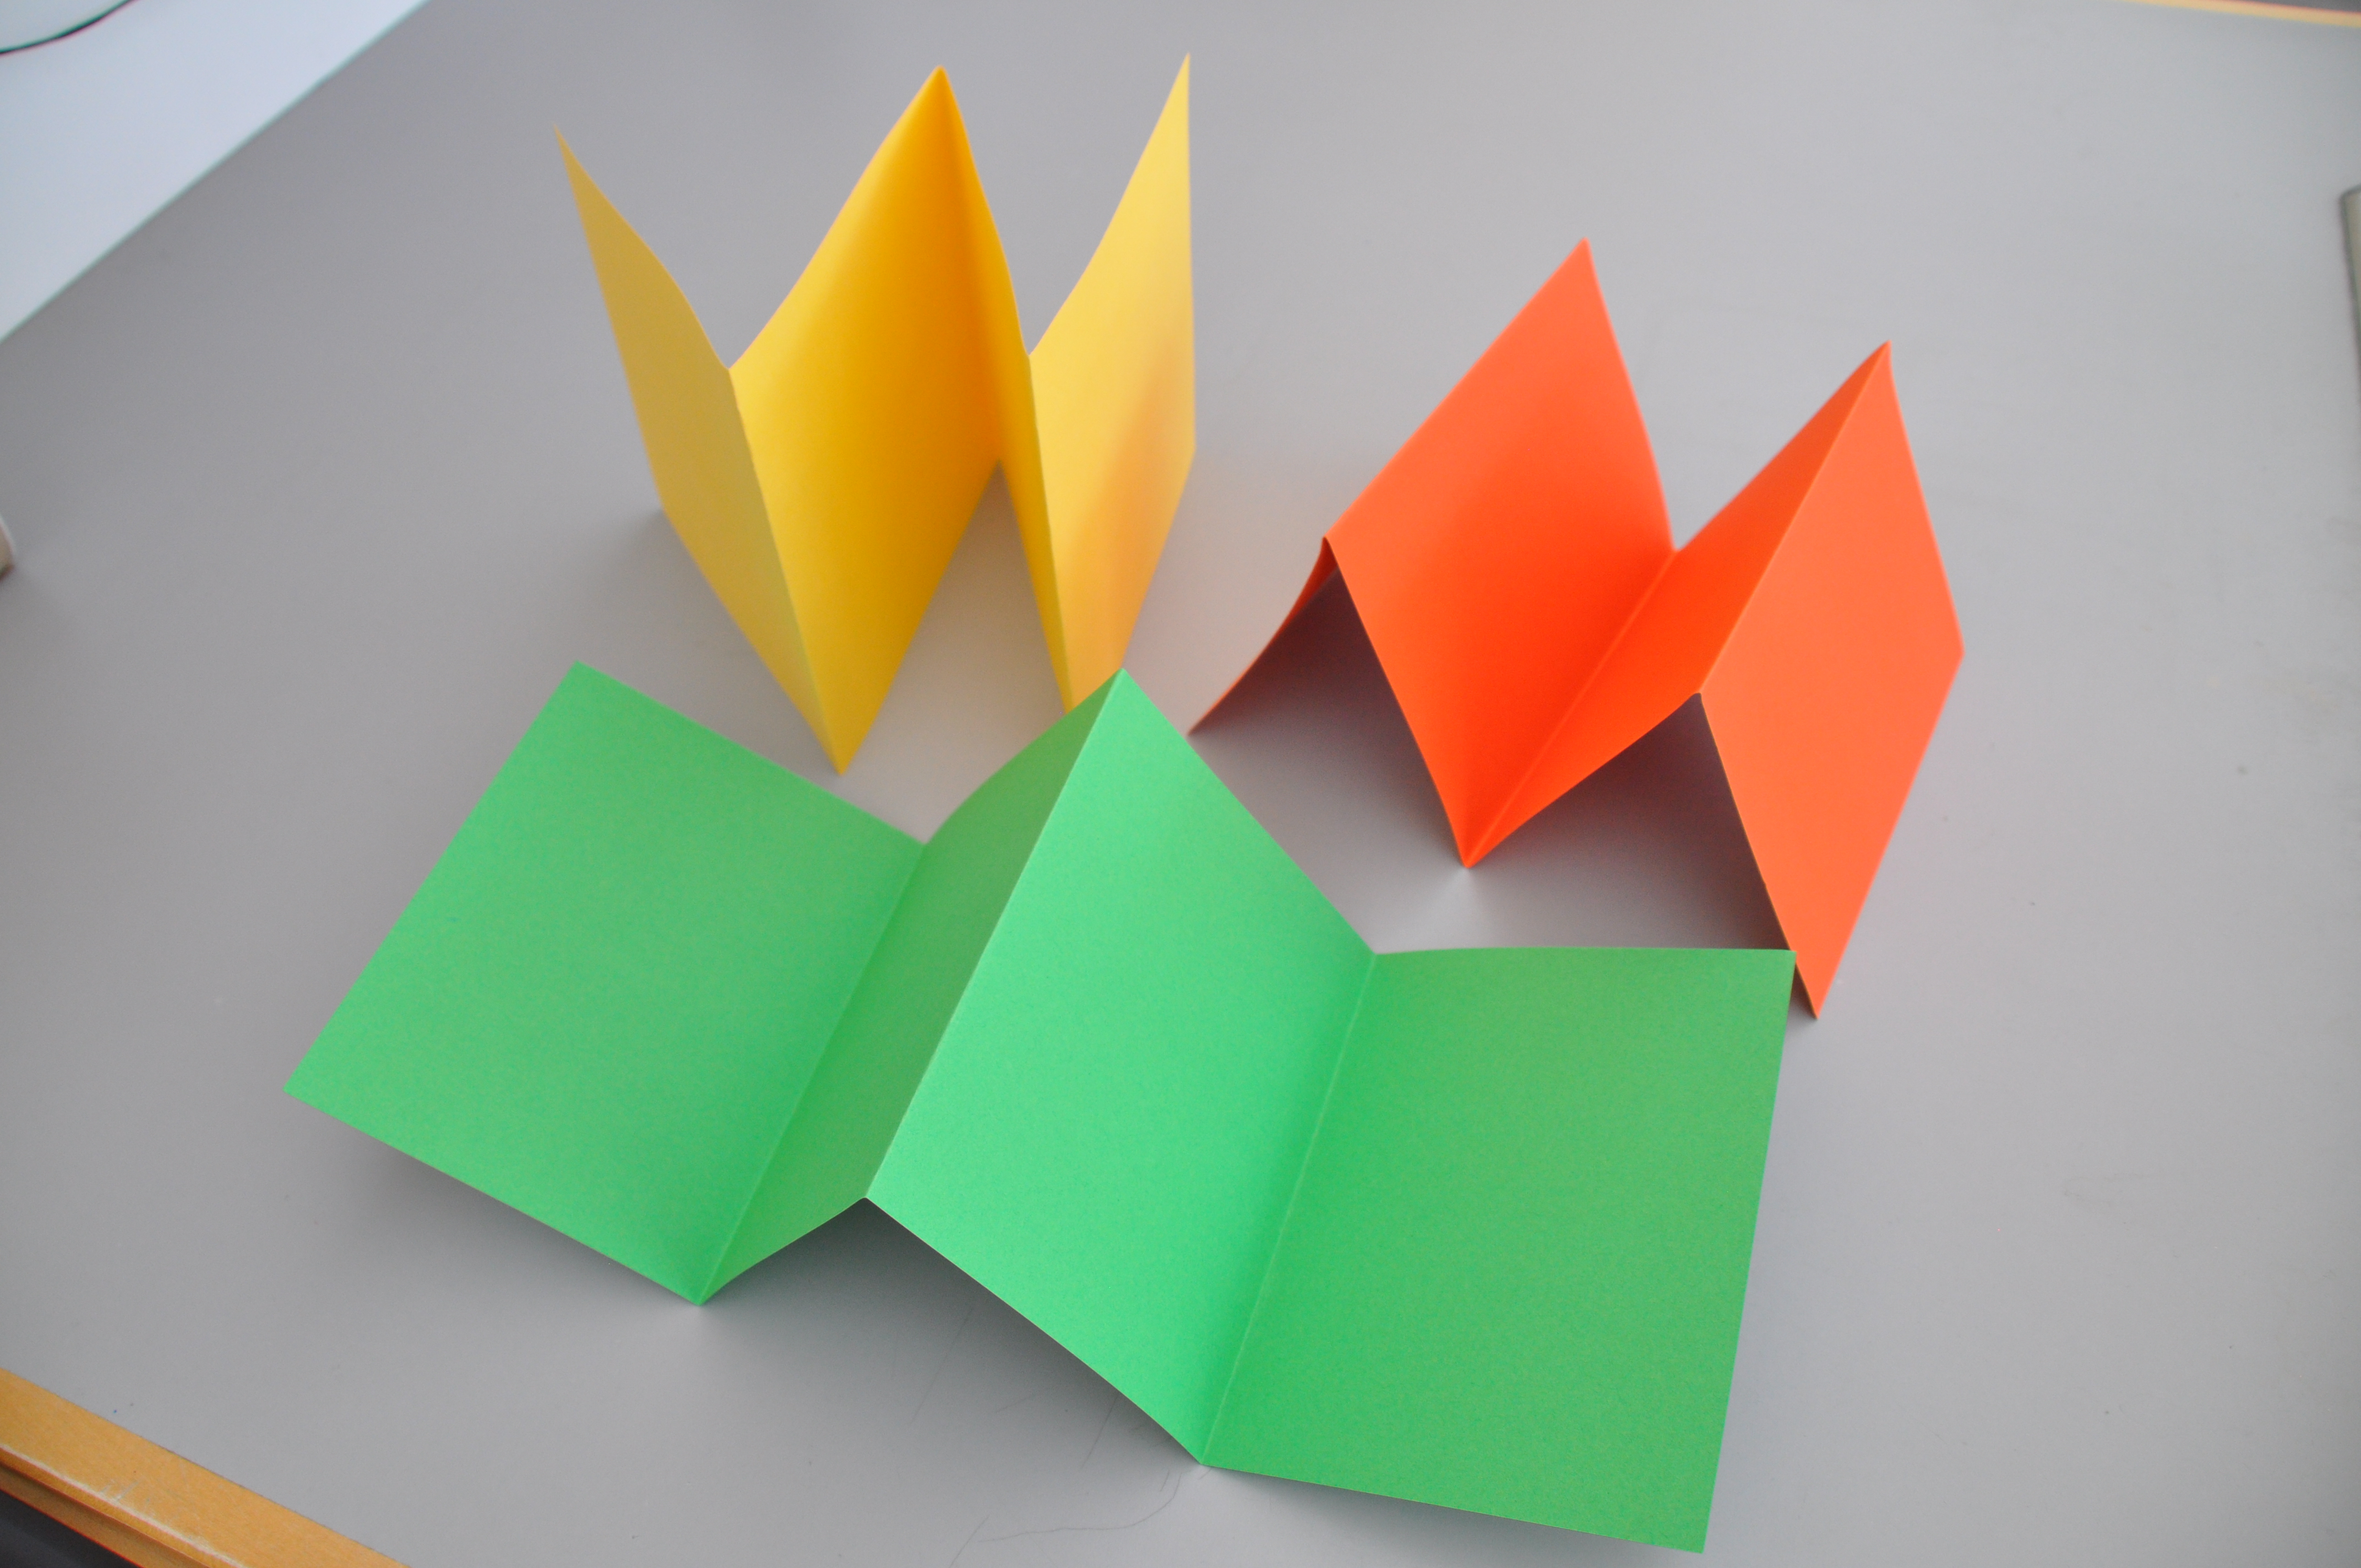
7. From the side, your paper should be in the shape of an “M,” for “Mountain.” Now you have an 8-page accordion book!
Optional: Staple your accordion book along the edge to create pages that turn. This style is called a pamphlet book.
For kids just learning to fold, starting with a small strip of paper (not larger than 4.5” x 12”) helps them keep control of the paper.
Experienced folders might experiment size/dimensions of the paper to see how they effect the shape and size of the book.
In addition to being a fast means to story-making, accordion book-making is also a great way to learn about the 1/2 and 1/4 (and even 1/8 fractions).
Have you made accordion books with your kids or students before? Please share what you do or add to the book to make it unique.
Making Art with Children is generously sponsored by the Massachusetts Educational Financing Authority.
