
Experiments in Papermaking
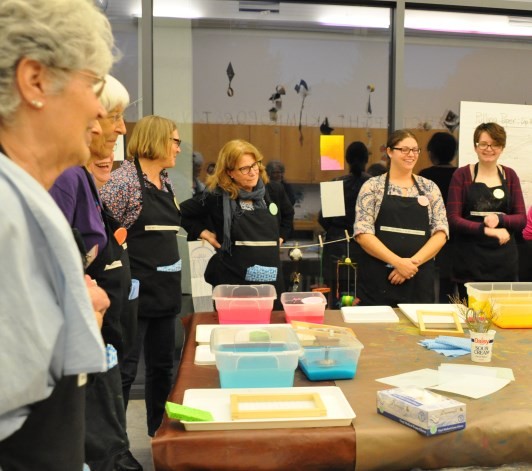
Here in the Art Studio, we have started hosting more art classes for adults. In these classes, our aim is to introduce materials and techniques in a fun and comfortable setting. One evening this fall, we brought out recycled papers, buckets of water, screens and deckles and turned the Art Studio into a dedicated papermaking space.
There are many ways to make paper, but as an introduction we decided to explore how recycled papers can be turned into pulp and then a wide range of textured and colorful handmade papers. This way, we could use left-over and donated paper that we had readily available in the Art Studio.
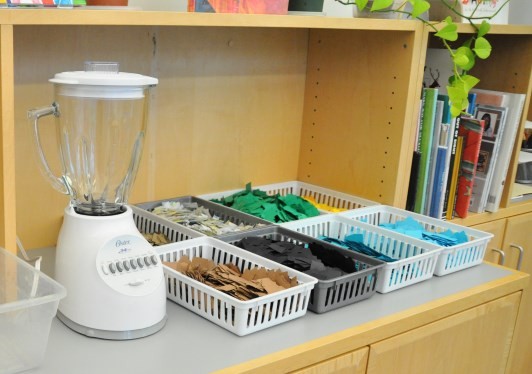
To make our pulp, we started by chopping papers into small pieces and then blending them with lots of water in a kitchen blender that had been retired from food-making duties (once a blender has been used for making papers, it shouldn’t be used for food again).
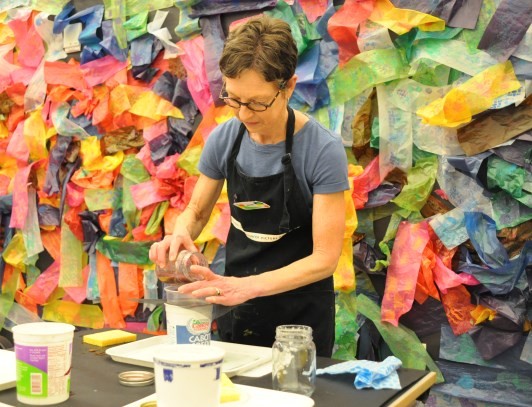
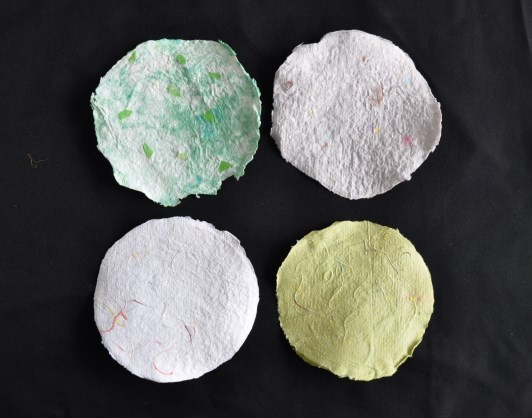
Once we had pulp in many colors, we were ready to use this pulp in different ways to make a range of unique papers. A word of warning, brightly colored paper pulp stains, so we offered participants gloves and aprons.
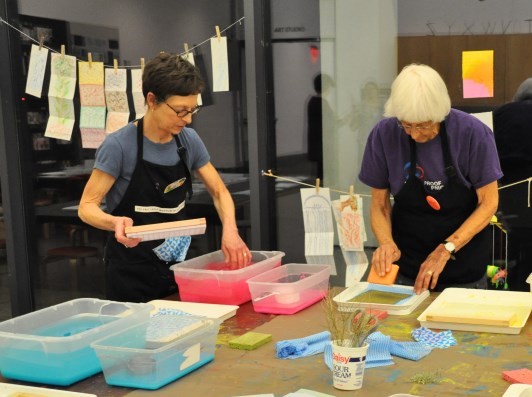
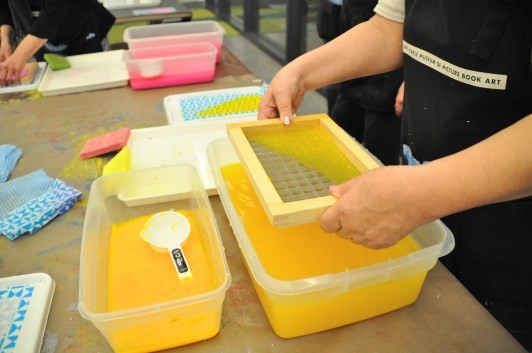
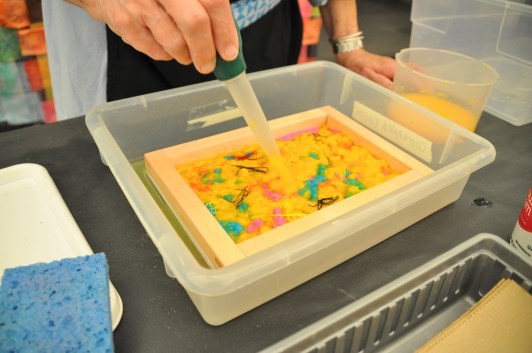
In the workshop we introduced participants to two different techniques for making paper, the dip and pour methods. The dip method of papermaking is where you suspend the pulp in water, submerge, and then draw a screen through the pulp, letting the excess water drain through the screen. We used Arnold Grummer papermaking kits for this process. These kits include deckles and molds. The screen and a plastic grid make up the mold, and the wooden frame is the deckle. The deckle is what gives the paper its final shape, and the slightly feathery ‘deckled’ edge that we associate with handmade paper. Papermaking, and the dip method in particular, uses lots of water, so we covered our tables with drop cloths and kept a mop close to hand in order to wipe up any spills and drips.
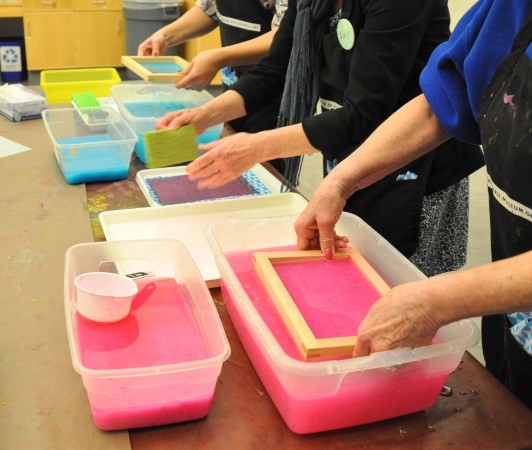
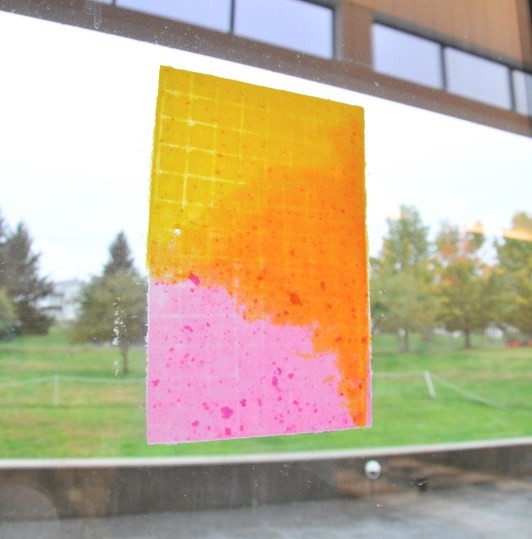
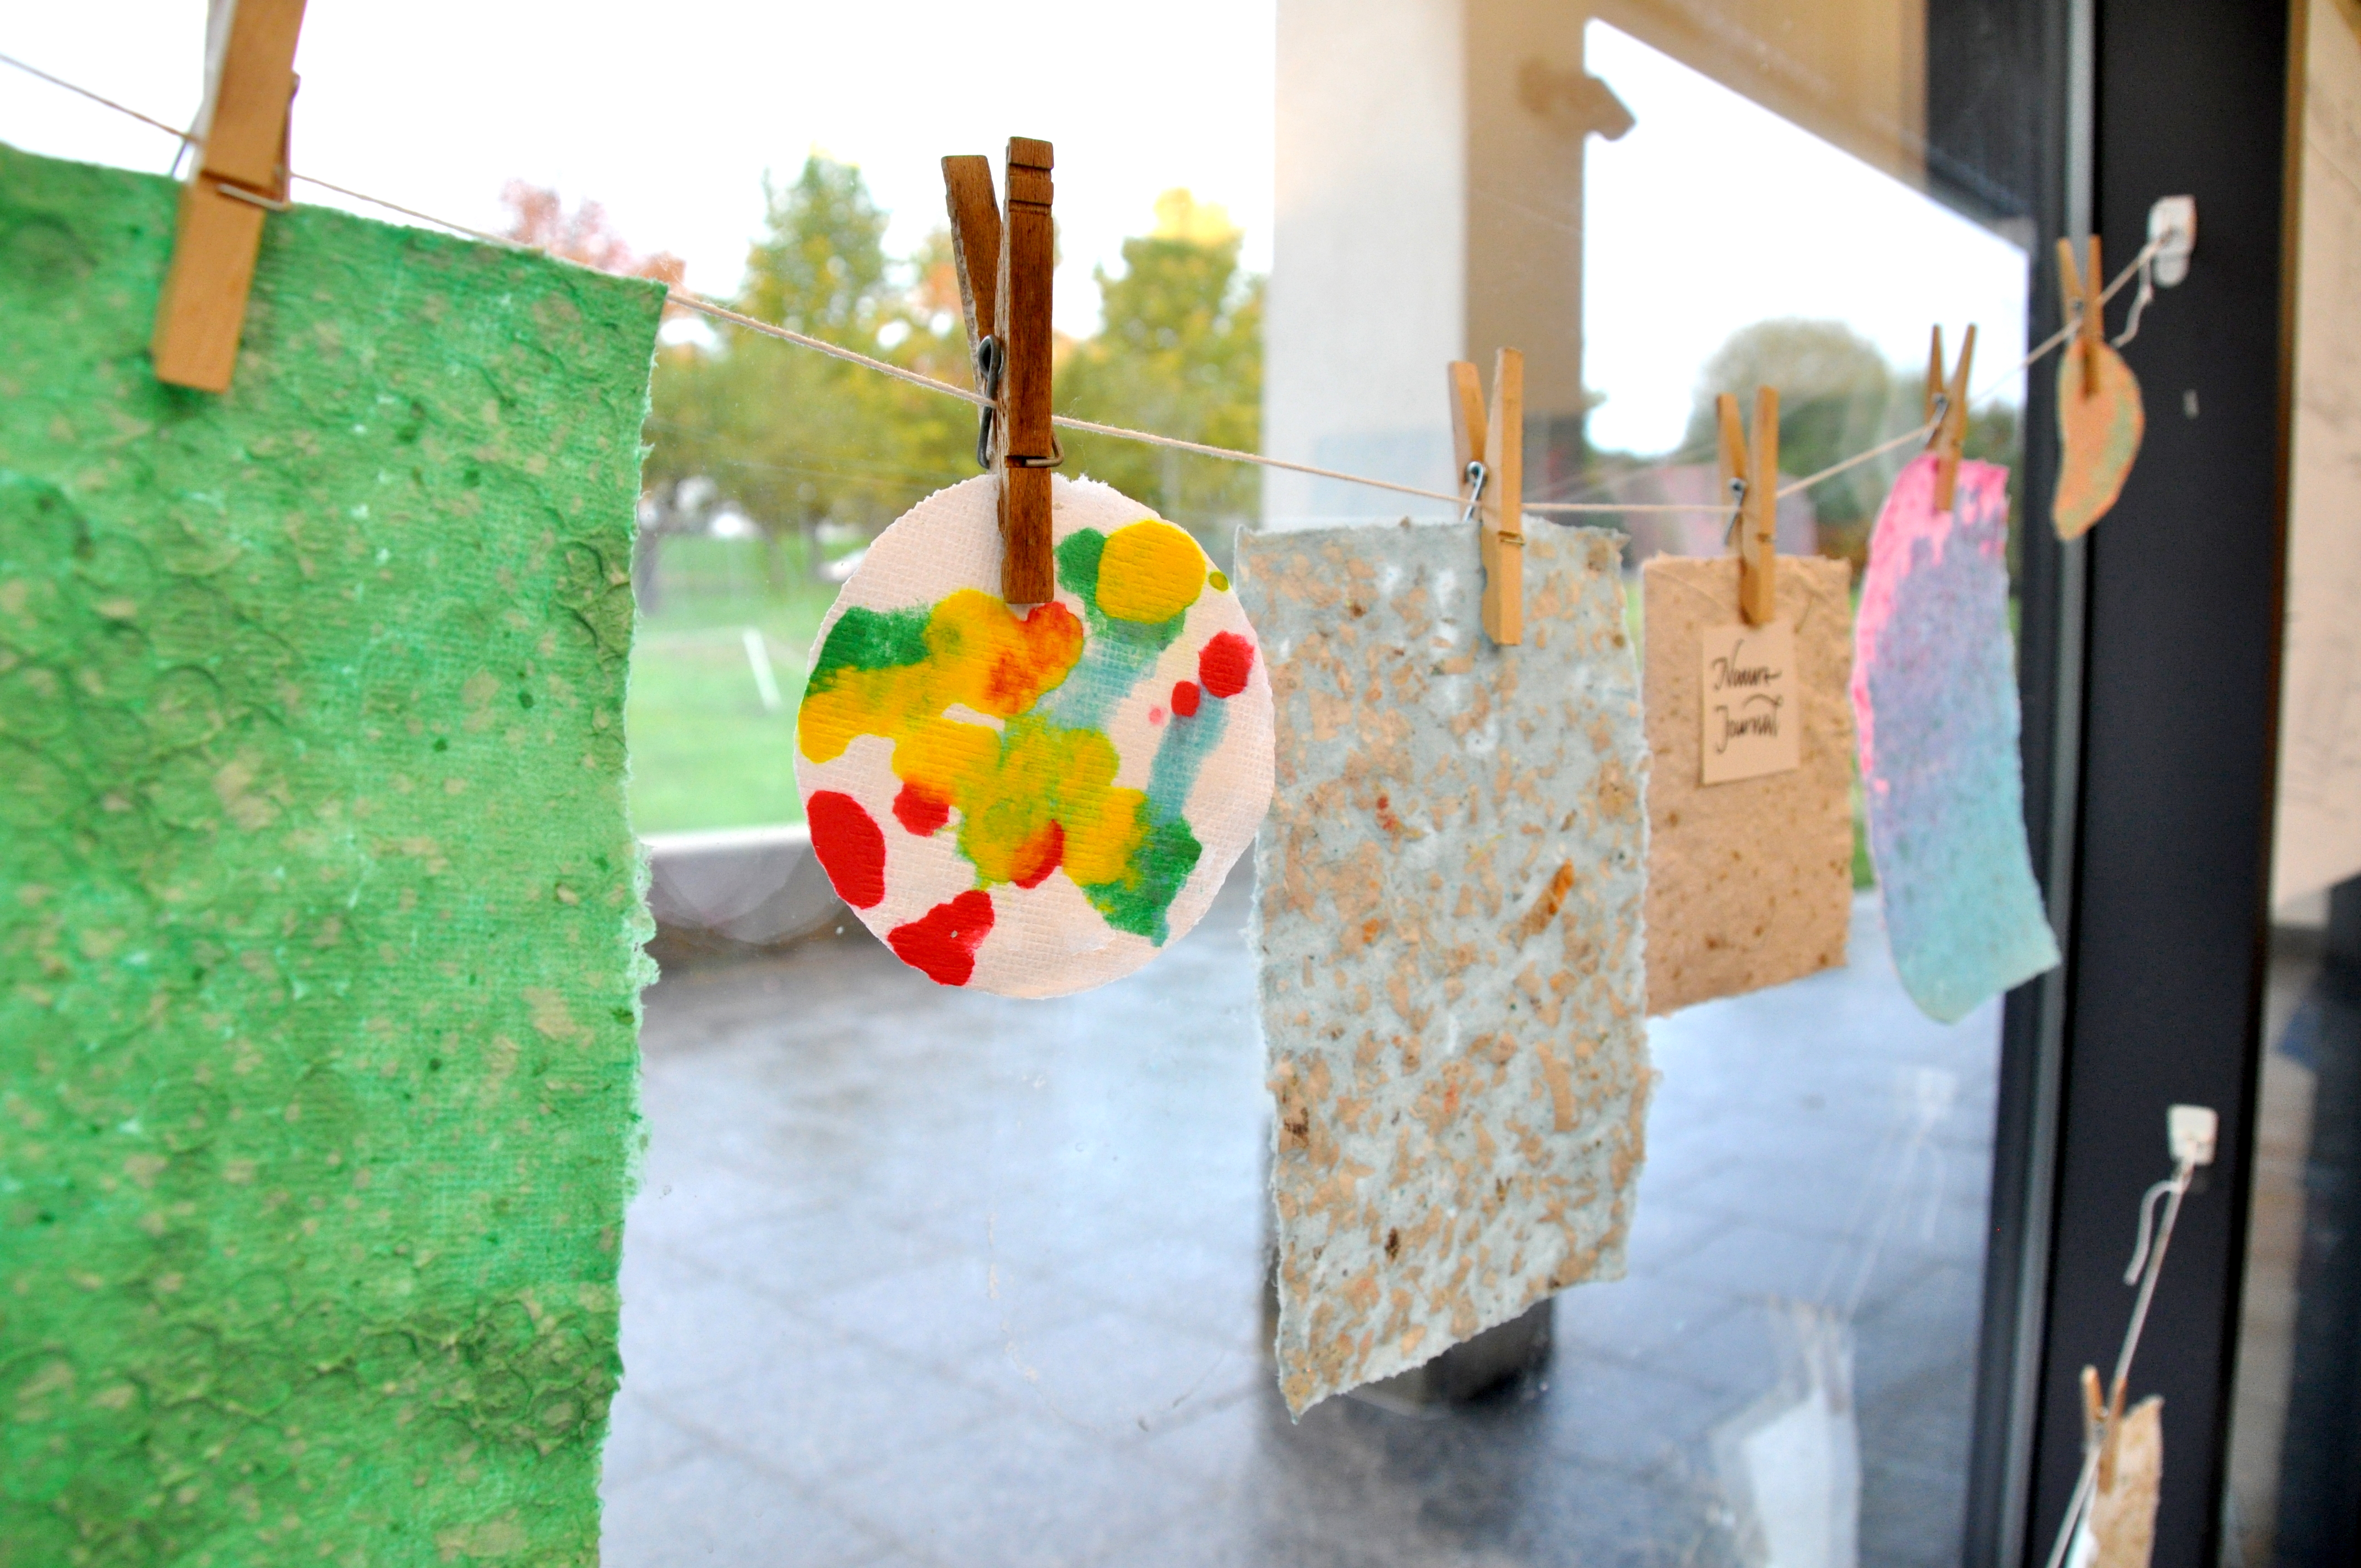
In a variation on the dip technique, we made gradient paper by only dipping part of the deckle and mold into the pulp mixture and then layering different colors together during the drying process.
These gradient papers had a beautiful color-mixing effect that we loved. We got this idea and the technique from the blog Paperslurry where there is lots of fantastic information about this papermaking technique and much more!
For the pour technique, we made our own deckles out of recycled plastic food containers we had collected. Using a craft knife, we cut the bottoms out of the containers leaving a circular ring to shape our papers.
We then placed the screen over a yogurt container and the deckle over the screen. By slowly pouring our pulp and water mixture over the screen in a circular motion we collected an even layer of pulp on the screen as the excess water drained into the container below.
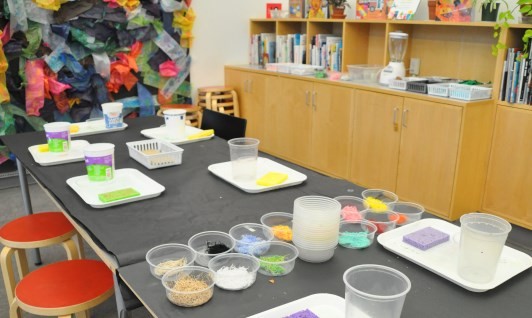
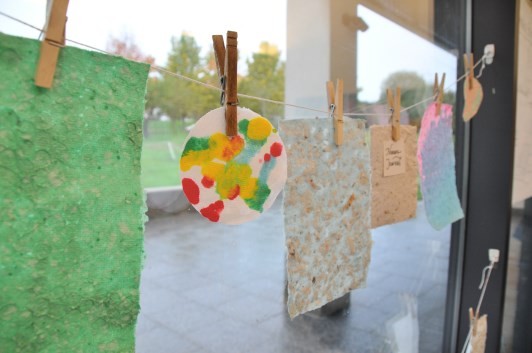
This method allowed participants to mix their own batch of pulp on a small-scale, choosing to combine different colors, add in hints of text with newspaper or magazine cuttings, or even embed objects in the papers during the pour process such as embroidery floss (just make sure objects are added after the blending process, as only paper and water should go into the blenders).
A variation on the pour technique that we introduced was a “pulp painting’ method we learned from one of Arnold Grummer’s instructional videos. We used turkey basters to add pulp of many colors to the surface of a screen. We placed a deckle and mold in a large plastic tub to contain the excess water that drained through the screen. Some participants experimented with embedding threads in the painted pulp as part of this process.
We think that the pour method will work well with younger audiences, so look out for more on this from us soon! You can also check out this blog post documenting a past papermaking projects with children here in the Art Studio.

