
At Home Art Studio
As an Education team at The Eric Carle Museum of Picture Book Art, we are all about bringing people together around picture books to create shared experiences. Our Art Studio is a hands-on, material-focused, all-ages space, where we have lots of materials within easy reach, and where we can share artmaking techniques with family groups and individuals. With our staff currently working from home, we want to figure out how everyone can create an Art Studio space within their homes and maintain the creative community that we experience every day at The Carle.
With that in mind, we’d like to invite you to join us as we create At Home Art Studios, using materials that are around us, and participating in a community that celebrates creativity and exploration, even if we can’t share physical spaces together. We’ll be posting weekly on our blog and on The Carle’s social media platforms with #AtHomeArtStudio to share project prompts and ideas, much like we do with our Every Day Art Projects in the museum’s Art Studio.
When we were thinking about what the Art Studio is at its core, we realized that it is a space to collect, and share materials in a way that invites people to re-imagine those materials as they explore possibilities, tell stories, and express ideas. To facilitate this process, it is helpful to make the materials as visible as possible and have flexible organization systems. This means the materials are easy to access and reorganize as new materials are made, found, and added.
The museum’s Guest Services and Art Studio teams are working to create a community of At Home Art Studios, each with its own unique approach and set of materials. Throughout this blog post are photos of the At Home Art Studios we’ve all started to make and will continue to build. We realize that you might already have some art materials around the house, or maybe you have none at all. We hope that this process will be meaningful for everyone, regardless of how many materials you start with. The goal is to get excited about what you have and find, and engage in a process of discovery and re-imagining. We are excited for you to join our creative community of At Home Art Studios!
A quick word about safety, this Art Studio collection should be done with adult supervision. Some of our ground rules included not using any food items as art materials, ensuring materials are safe to use and handle, and collecting materials that are unused or are going to be discarded (we checked with members of our household before collecting an item). For caregivers who are guiding any children through this process, we recommend that you set guidelines (what spaces can be used and explored, what materials are allowed to be collected) with the children’s ages and interests in mind.
First step, let’s go on a material treasure hunt around your home. Choose a spot as your designated collecting area, this can be a table, floor space, chair, cardboard box, anything.
Once you have selected a space to bring your art treasures back to, choose a room where you will start your treasure hunt and look for things you can add to your Art Studio. It helped us to have the following categories in mind as we searched.
1) a tool you can use: like a drawing tool, ruler, pair of scissors
2) objects you can change when making art i.e. things you can draw on, rip, cut etc: like paper, cardboard, yarn, string.
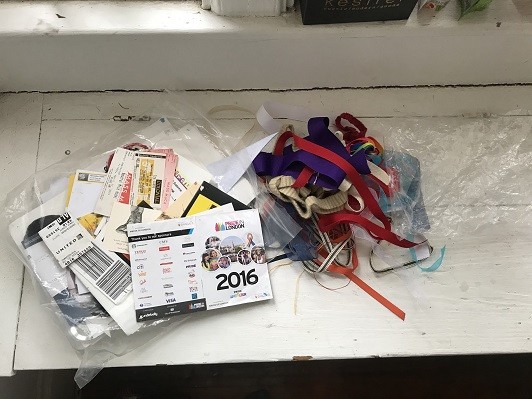
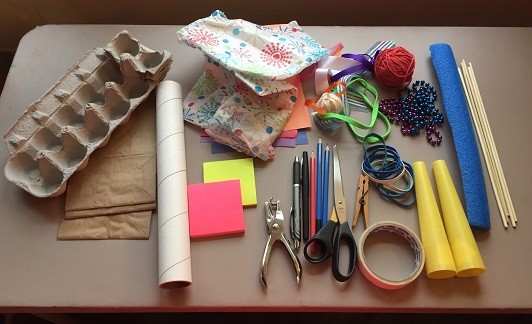
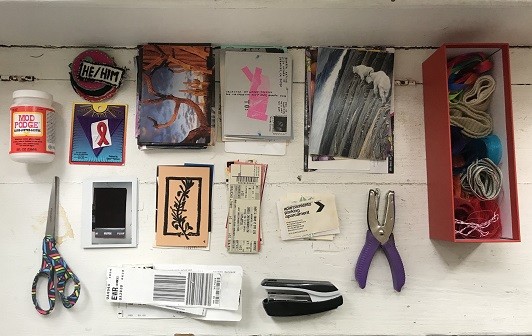
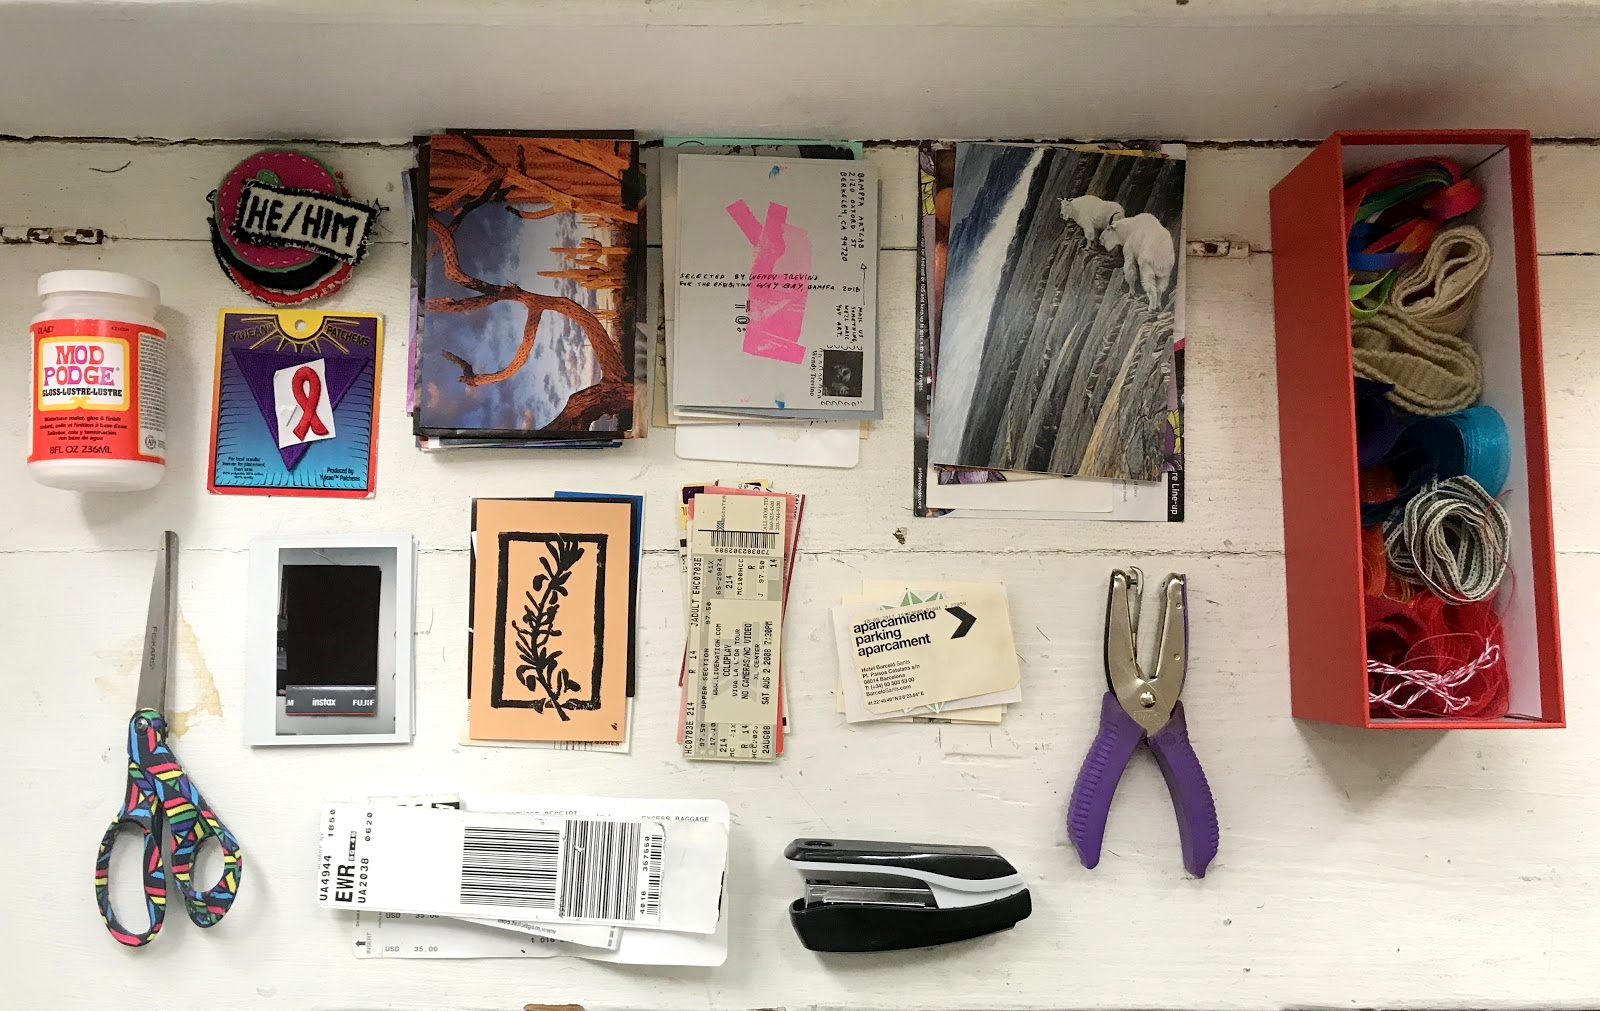
Ben walked around his apartment and gathered materials that he thought would be good for a collage. He found many different sizes of ribbon and old postcards, pictures, posters, and patches.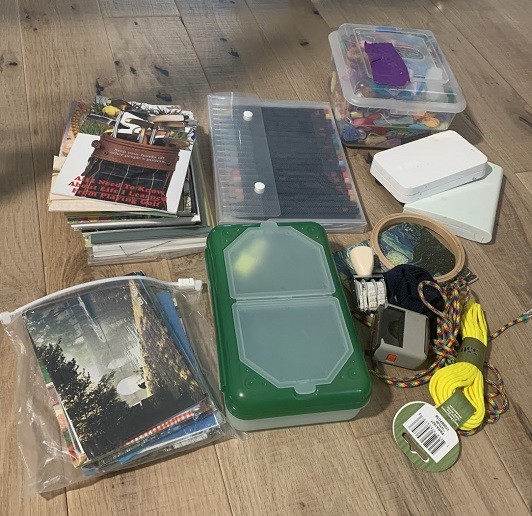
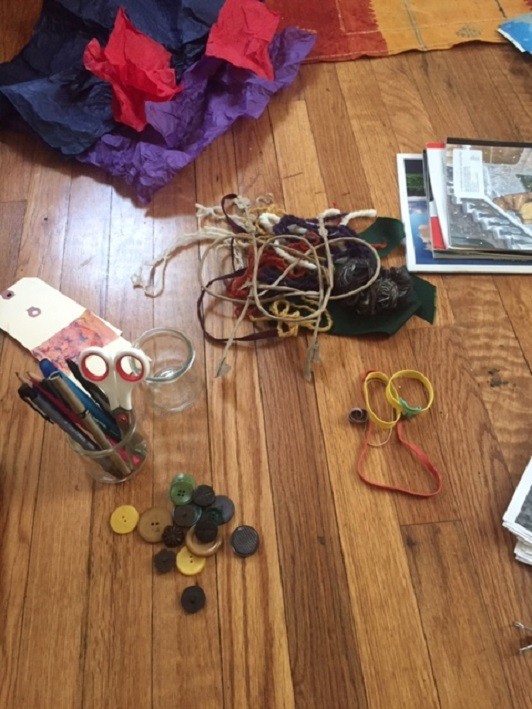
Mackenzie gathered and cut up scraps of paper found in her backpack, notebooks and even under her bed. In the kitchen junk drawer, she found cord, rubber bands and paperclips.
Once you finish with one room, try another one! Some materials might be very exciting and you might want to start making right away. That is great! Feel free to write, draw, or have your caregiver record your project idea to be explored later. Right now, the challenge is to find as many materials as possible.
Once you’ve found as many materials as possible, now is the time to sort your treasure! Like when sorting Halloween candy, organize your treasure into categories. These can be any that seem right to you, some of the categories we tried were by material type, color, shape, texture, and how the materials can be used. Here are some photos of how we sorted our materials.
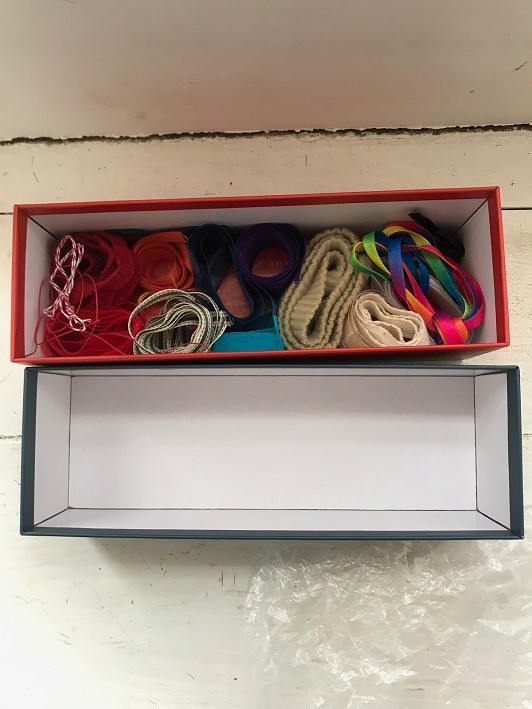
Ben decided to organize the ribbons by color and the other materials by size. When he organized the ribbons he put them in rainbow order from left to right: red, orange, yellow, green, blue, indigo, violet. He decided to store them in an old sock box so they wouldn’t unravel.
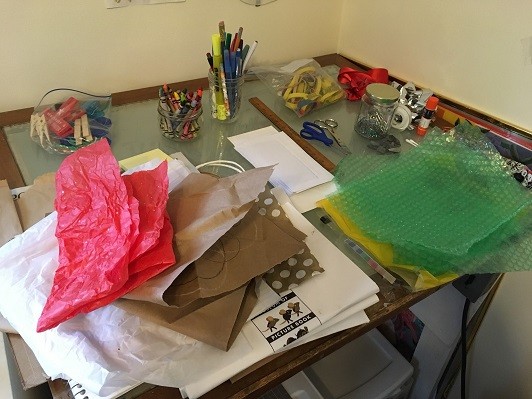
Meg sorted her materials by how she imagined they could be used (tools, found materials for sculpture, collage papers)

After sorting, it’s time to create treasure chest(s) for your art materials. As we mentioned before, having the materials visible and accessible will both prevent mess, and expand creative opportunities. You can use the categories you sorted the materials into to help you decide how to store them. You can use boxes, bags, and/or bins that you have at home.
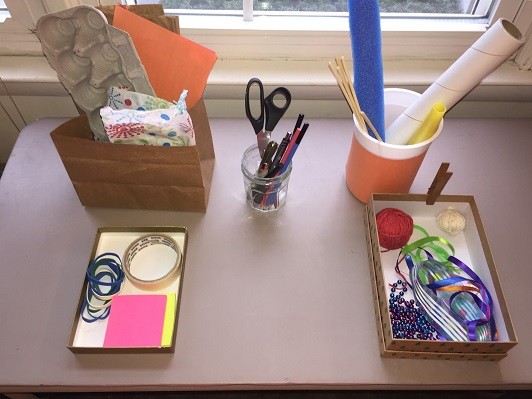
Megan found reusable gift boxes, recycled jars, and plastic containers around her home, and was inspired by Meg’s idea to cut a shallow bag to store paper and cardboard.
Once containers have been created or found, it is time to find a place in your home to put your art material treasure chests. It could be on a shelf, in a box on the floor, under a table, wherever you have space.
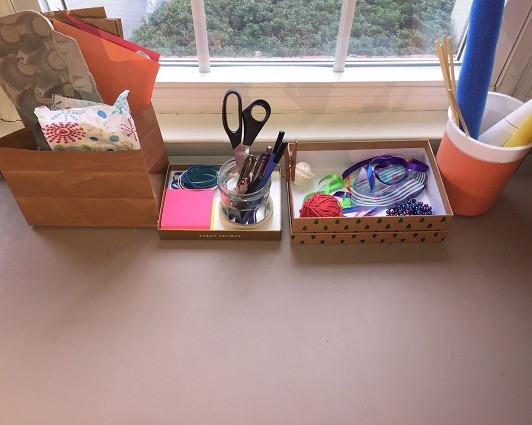
Megan didn’t have much open shelf space, but had a small folding table that she set up in an unused corner. She plans to store her art making materials there, and use it as her art making station.
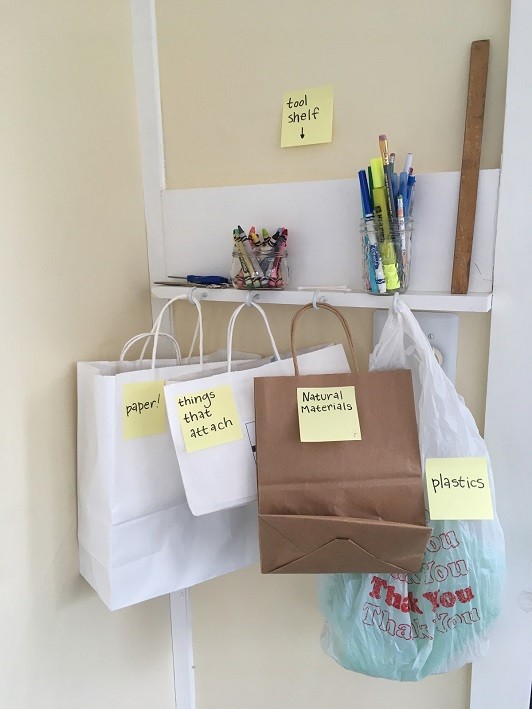
After sorting into categories, Sara realized that the coat hooks in her house would be perfect to hang an Art Studio. With the supplies sorted into bags placed onto hooks, the materials are easily accessible and can be moved at a moment’s notice. She put the tools that didn’t fit into the bag categories on the shelf above.
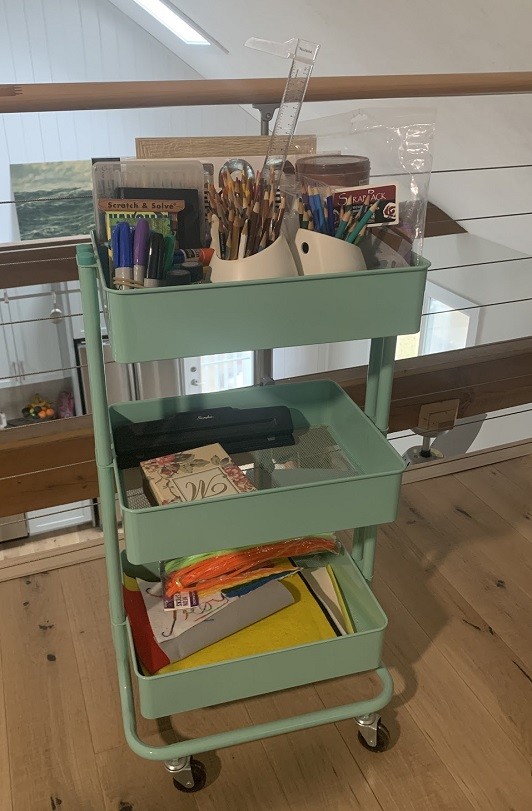
Mackenzie decided to reorganize her craft caddy. Now Mackenzie has all her supplies in one place and is ready to create anywhere in the house!
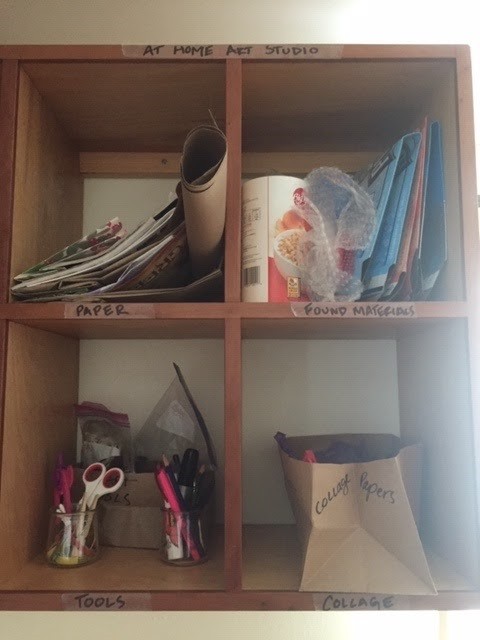
These shelves were under-utilized in Meg’s household, so she cleared them to free up space for her At Home Art Studio. She created labels by writing directly onto the paper bag containers, and onto clear tape with permanent marker.
After collecting, sorting, and finding a home for our At Home Art Studios, we were excited to make art right away, and you might be too! Feel free to start creating, experimenting, and testing out your re-imagined materials. You can always continue to collect and sort, as new materials are added, new possibilities open-up.
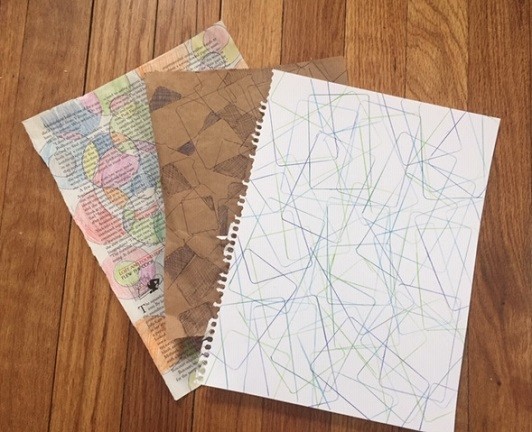
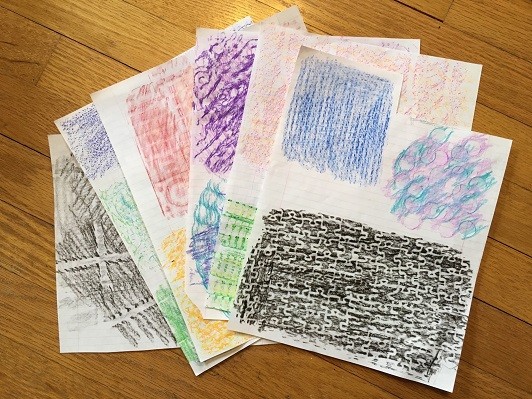
We started making collage papers, and our next post will share more information about fun ways to create your own textured papers to use in a variety of projects. If you’d like some creative prompts to jump-start your art making, check back in to our blog and social media platforms next week for project ideas! Share your photos and videos with #AtHomeArtStudio and #EricCarleMuseum.
