
Homemade Crayons

The Search for Great Crayons
We have tried purchasing different varieties of toddler crayons and have often been disappointed. We bought egg-shaped crayons that were wonderful for little hands but had a hollow-core and shattered into tiny shards when dropped. Some crayons were eco-friendly and made of food-safe materials, but their small size was too close to choking hazards for us to confidently put out for guests in the studio. We tried melting down small bits of broken crayons from past projects, but then learned that crayon companies do not advise melting at home due to the chemical fumes released into ovens during that process.

Currently in the studio, we have rock crayons at the lower drawing table that are a good size for young hands and are colorful. But each crayon is made of at least two colors, so they tend to break easily along the seams of the color pieces. We also tried out a larger gem crayon by the same company but have found that it is too large for little ones to manipulate. Both are also advertised as non-toxic, but there isn’t a lot of transparency around the ingredients.
Our Ideal Crayons
Throughout this search, we have honed in on what criteria we would like our toddler crayons to meet. Below are our top priorities:
- Safe size: The crayons need to be fairly large to avoid them becoming a choking hazard.
- Safe ingredients: We know that the crayons are often mouthed by our youngest visitors, so we need the ingredients to be non-toxic.
- Graspable size and shape: The size and shape of the crayons should allow them to be easily moved by little hands.
- Vibrant colors: We want the crayons to have bold colors so that they are exciting to use.
- Smooth application: The crayons must also color with relative ease to avoid having to push down very hard to make an effect.
Making Our Own
With all this in mind, (and realizing that we weren’t coming close to finding a toddler crayon that fit all the criteria) I decided to try and make our own crayons from scratch. I found a video recipe online for taste-safe crayons. We liked that it used non-toxic ingredients and seemed to have a smooth application. But we were worried that the spices inside the crayons would encourage eating. So, I looked for a food colorant that could work instead.

Assembling the Materials
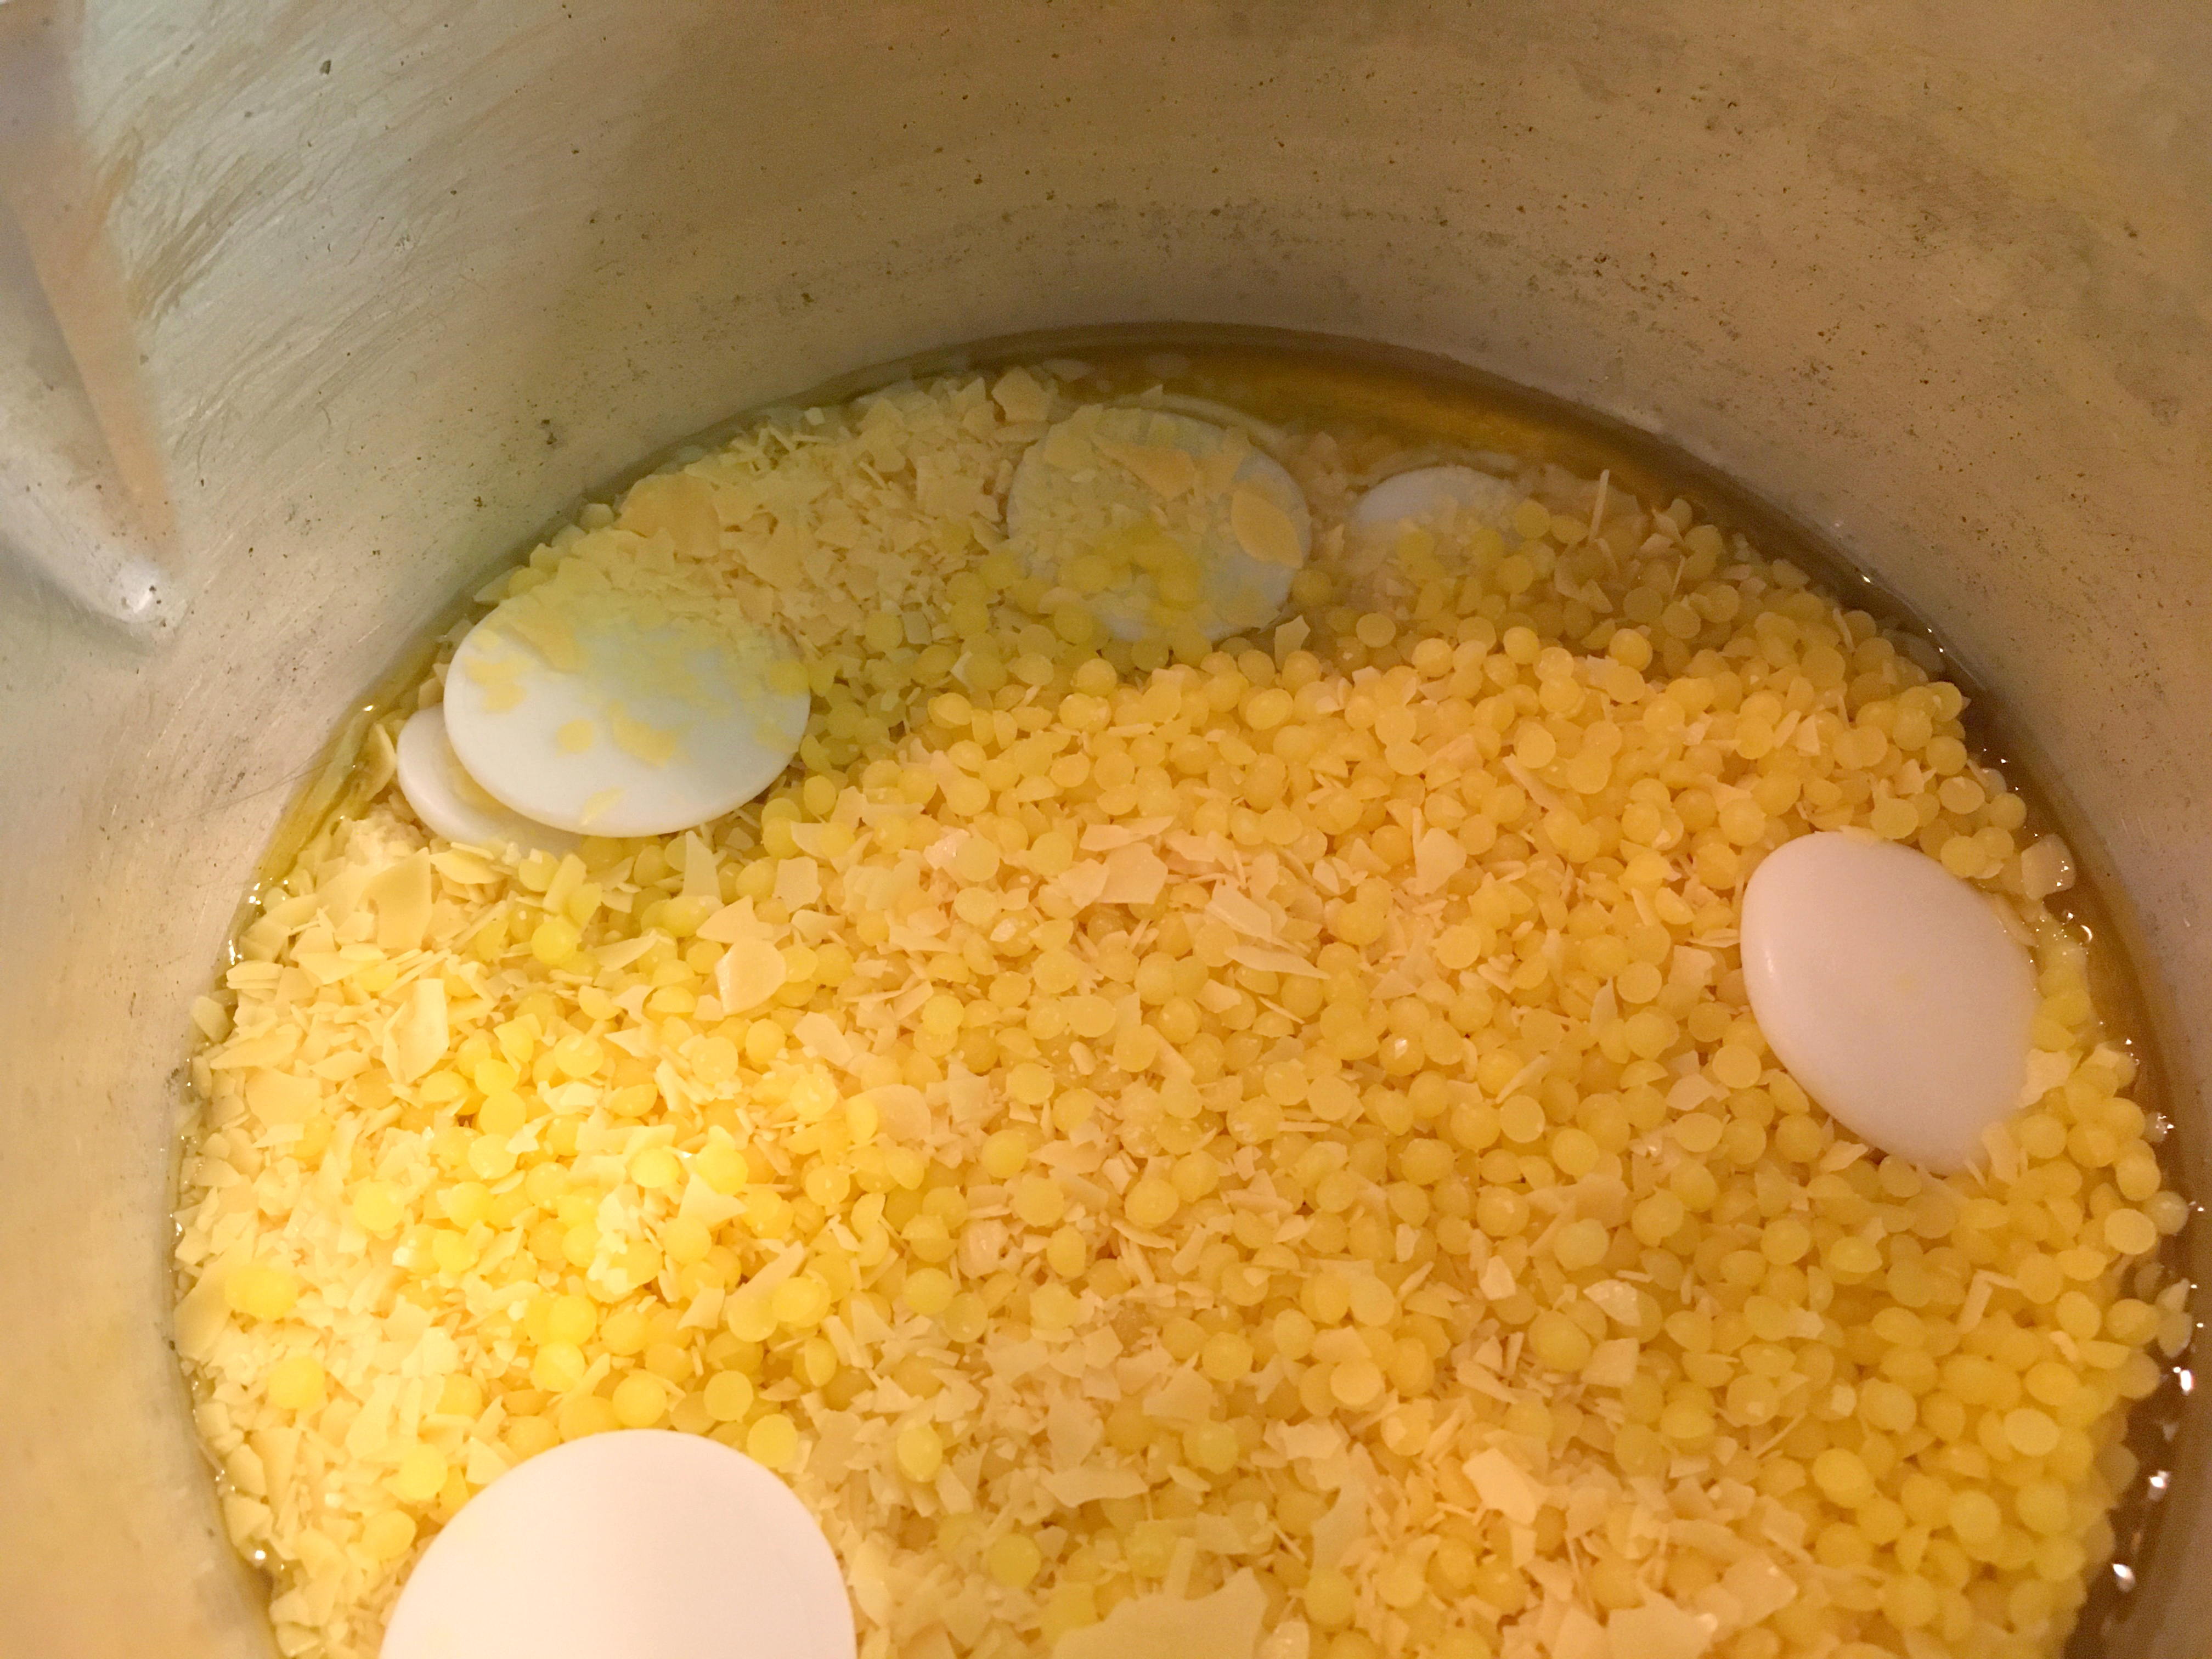
Colour Mill came up in my search as a food-safe dye that seemed to work well and evenly disperse within oily substances. For the waxy materials, I purchased in bulk organic beeswax, carnauba wax, and deodorized cocoa butter. I chose ones that were in flake, pellet, or coin form to help melt faster. Knowing that I should dedicate a pot and spoon to exclusively make the crayons to avoid contaminants, I picked up a pot with a spout and wooden spoon at a local reuse center.

I also purchased two silicone molds (canelé and madeleine) for the crayons at a local baking shop that I thought would be great shapes for grasping.
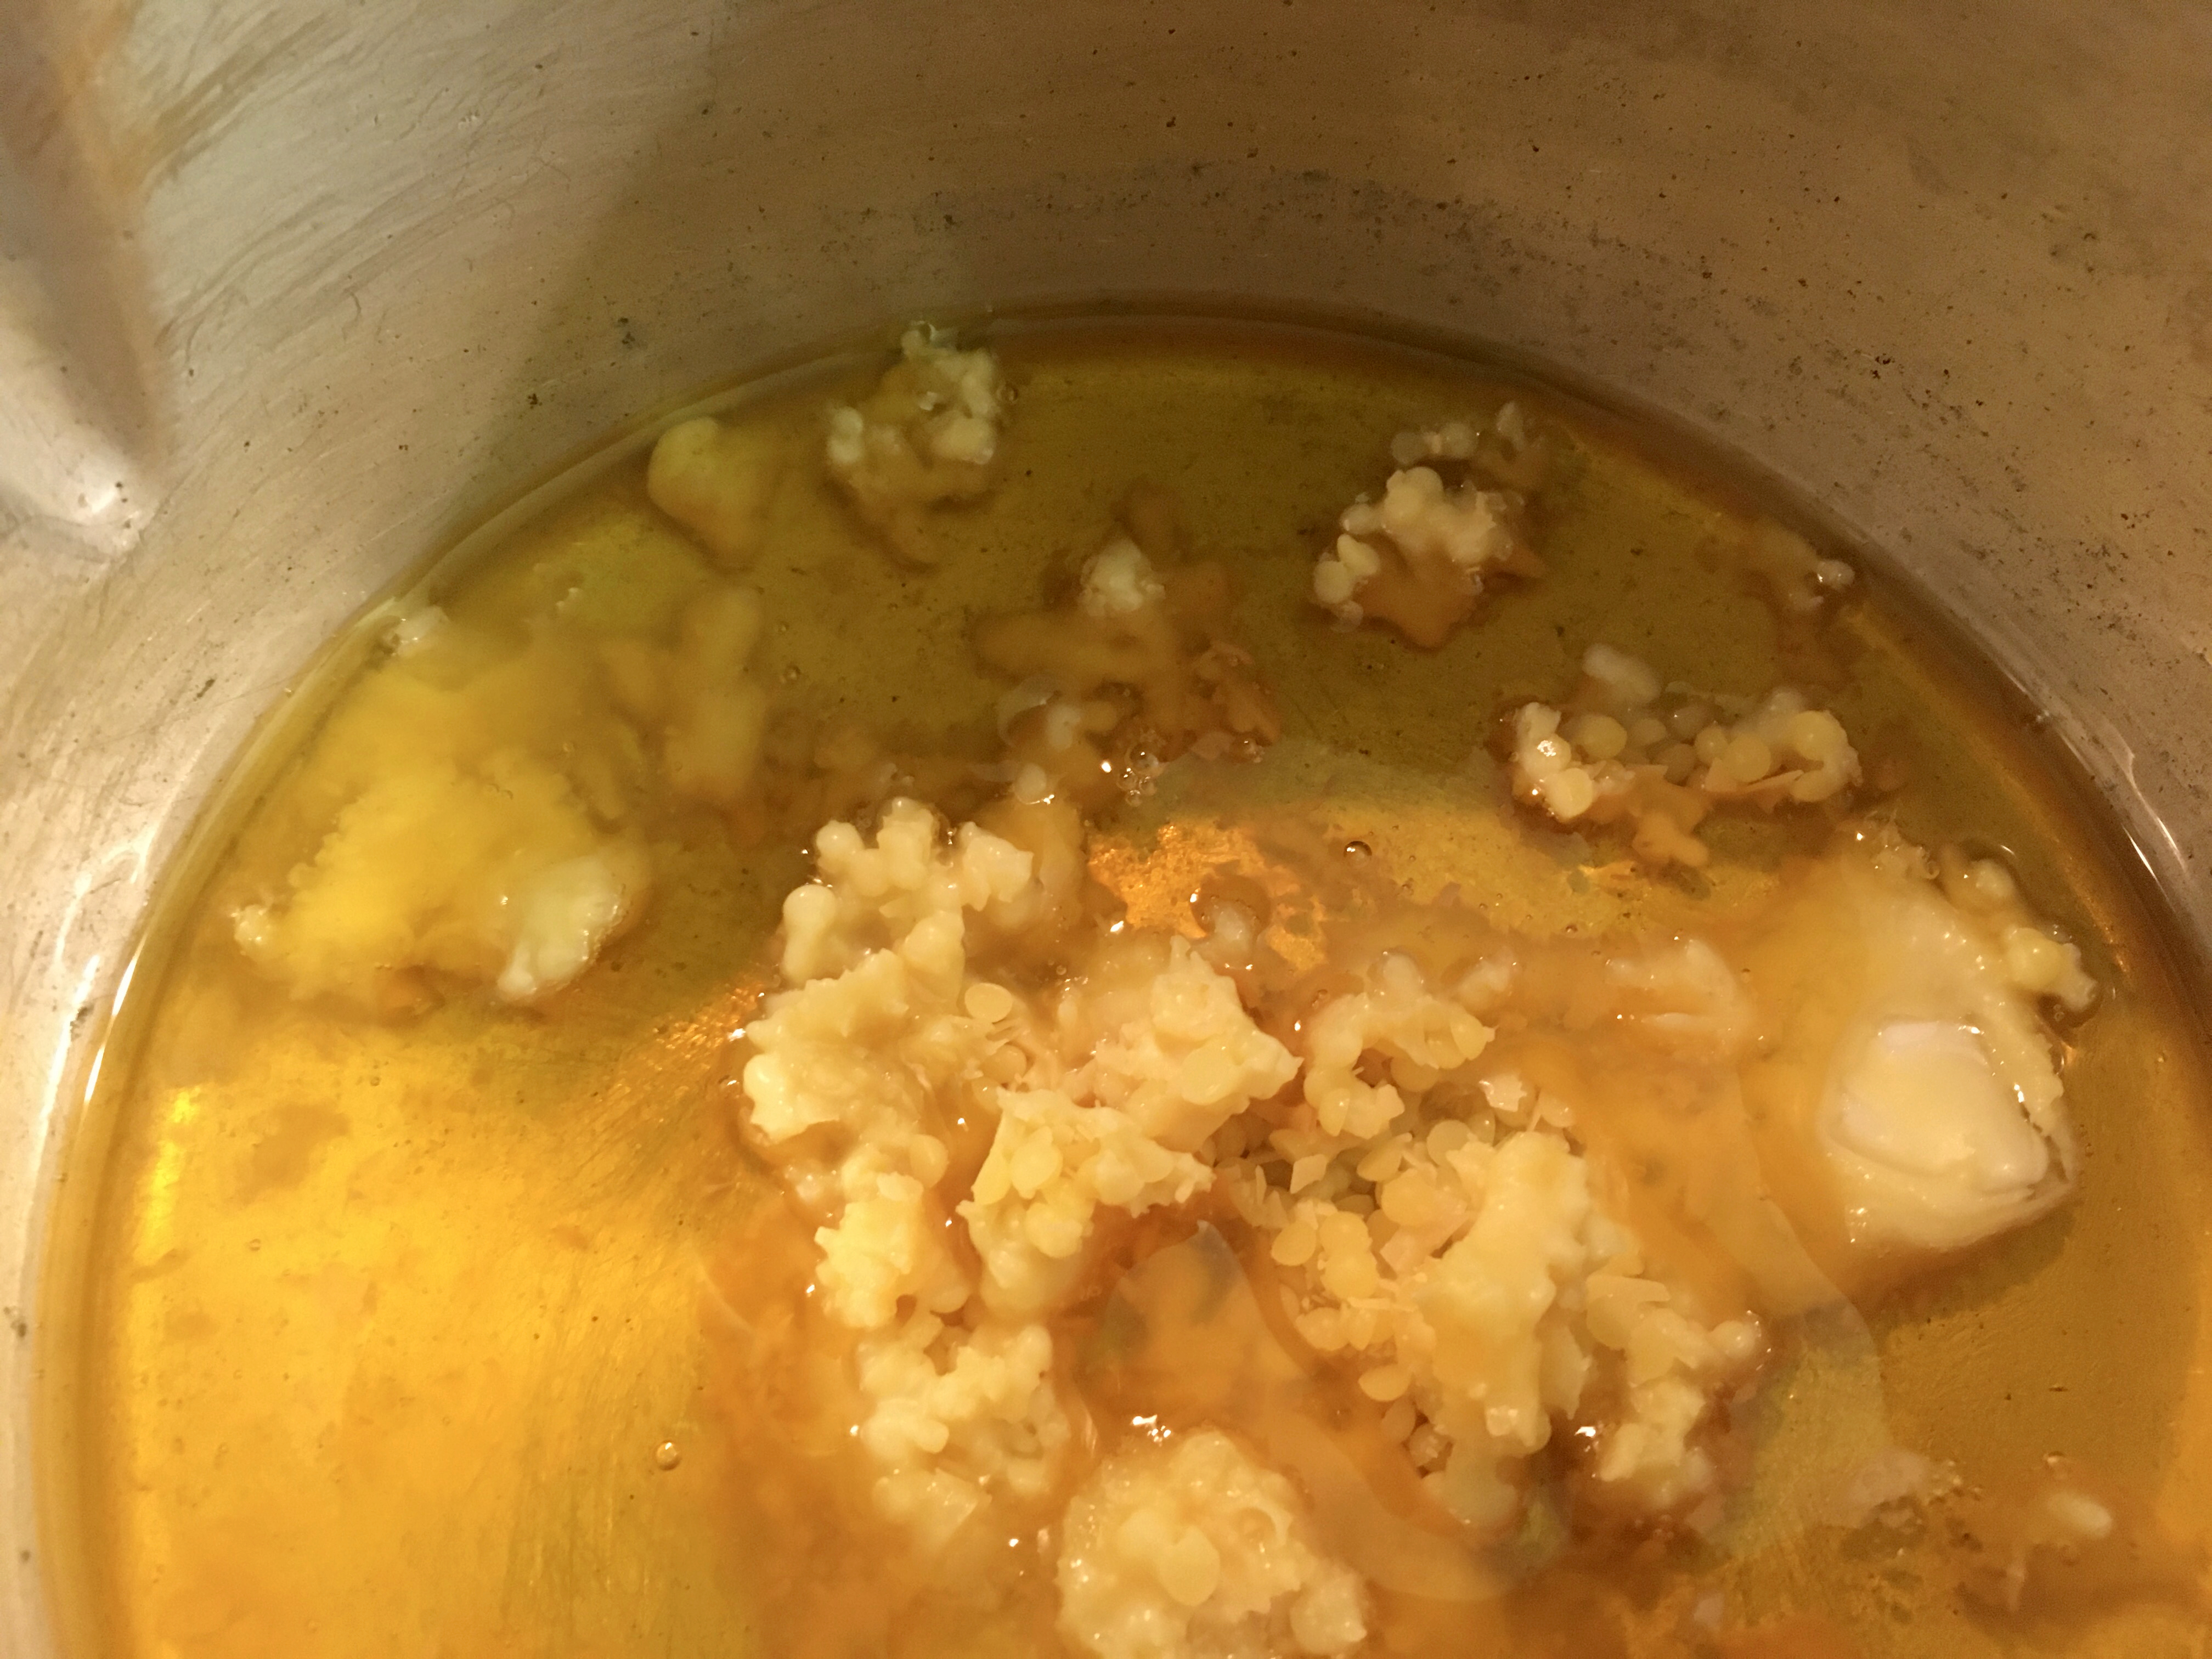
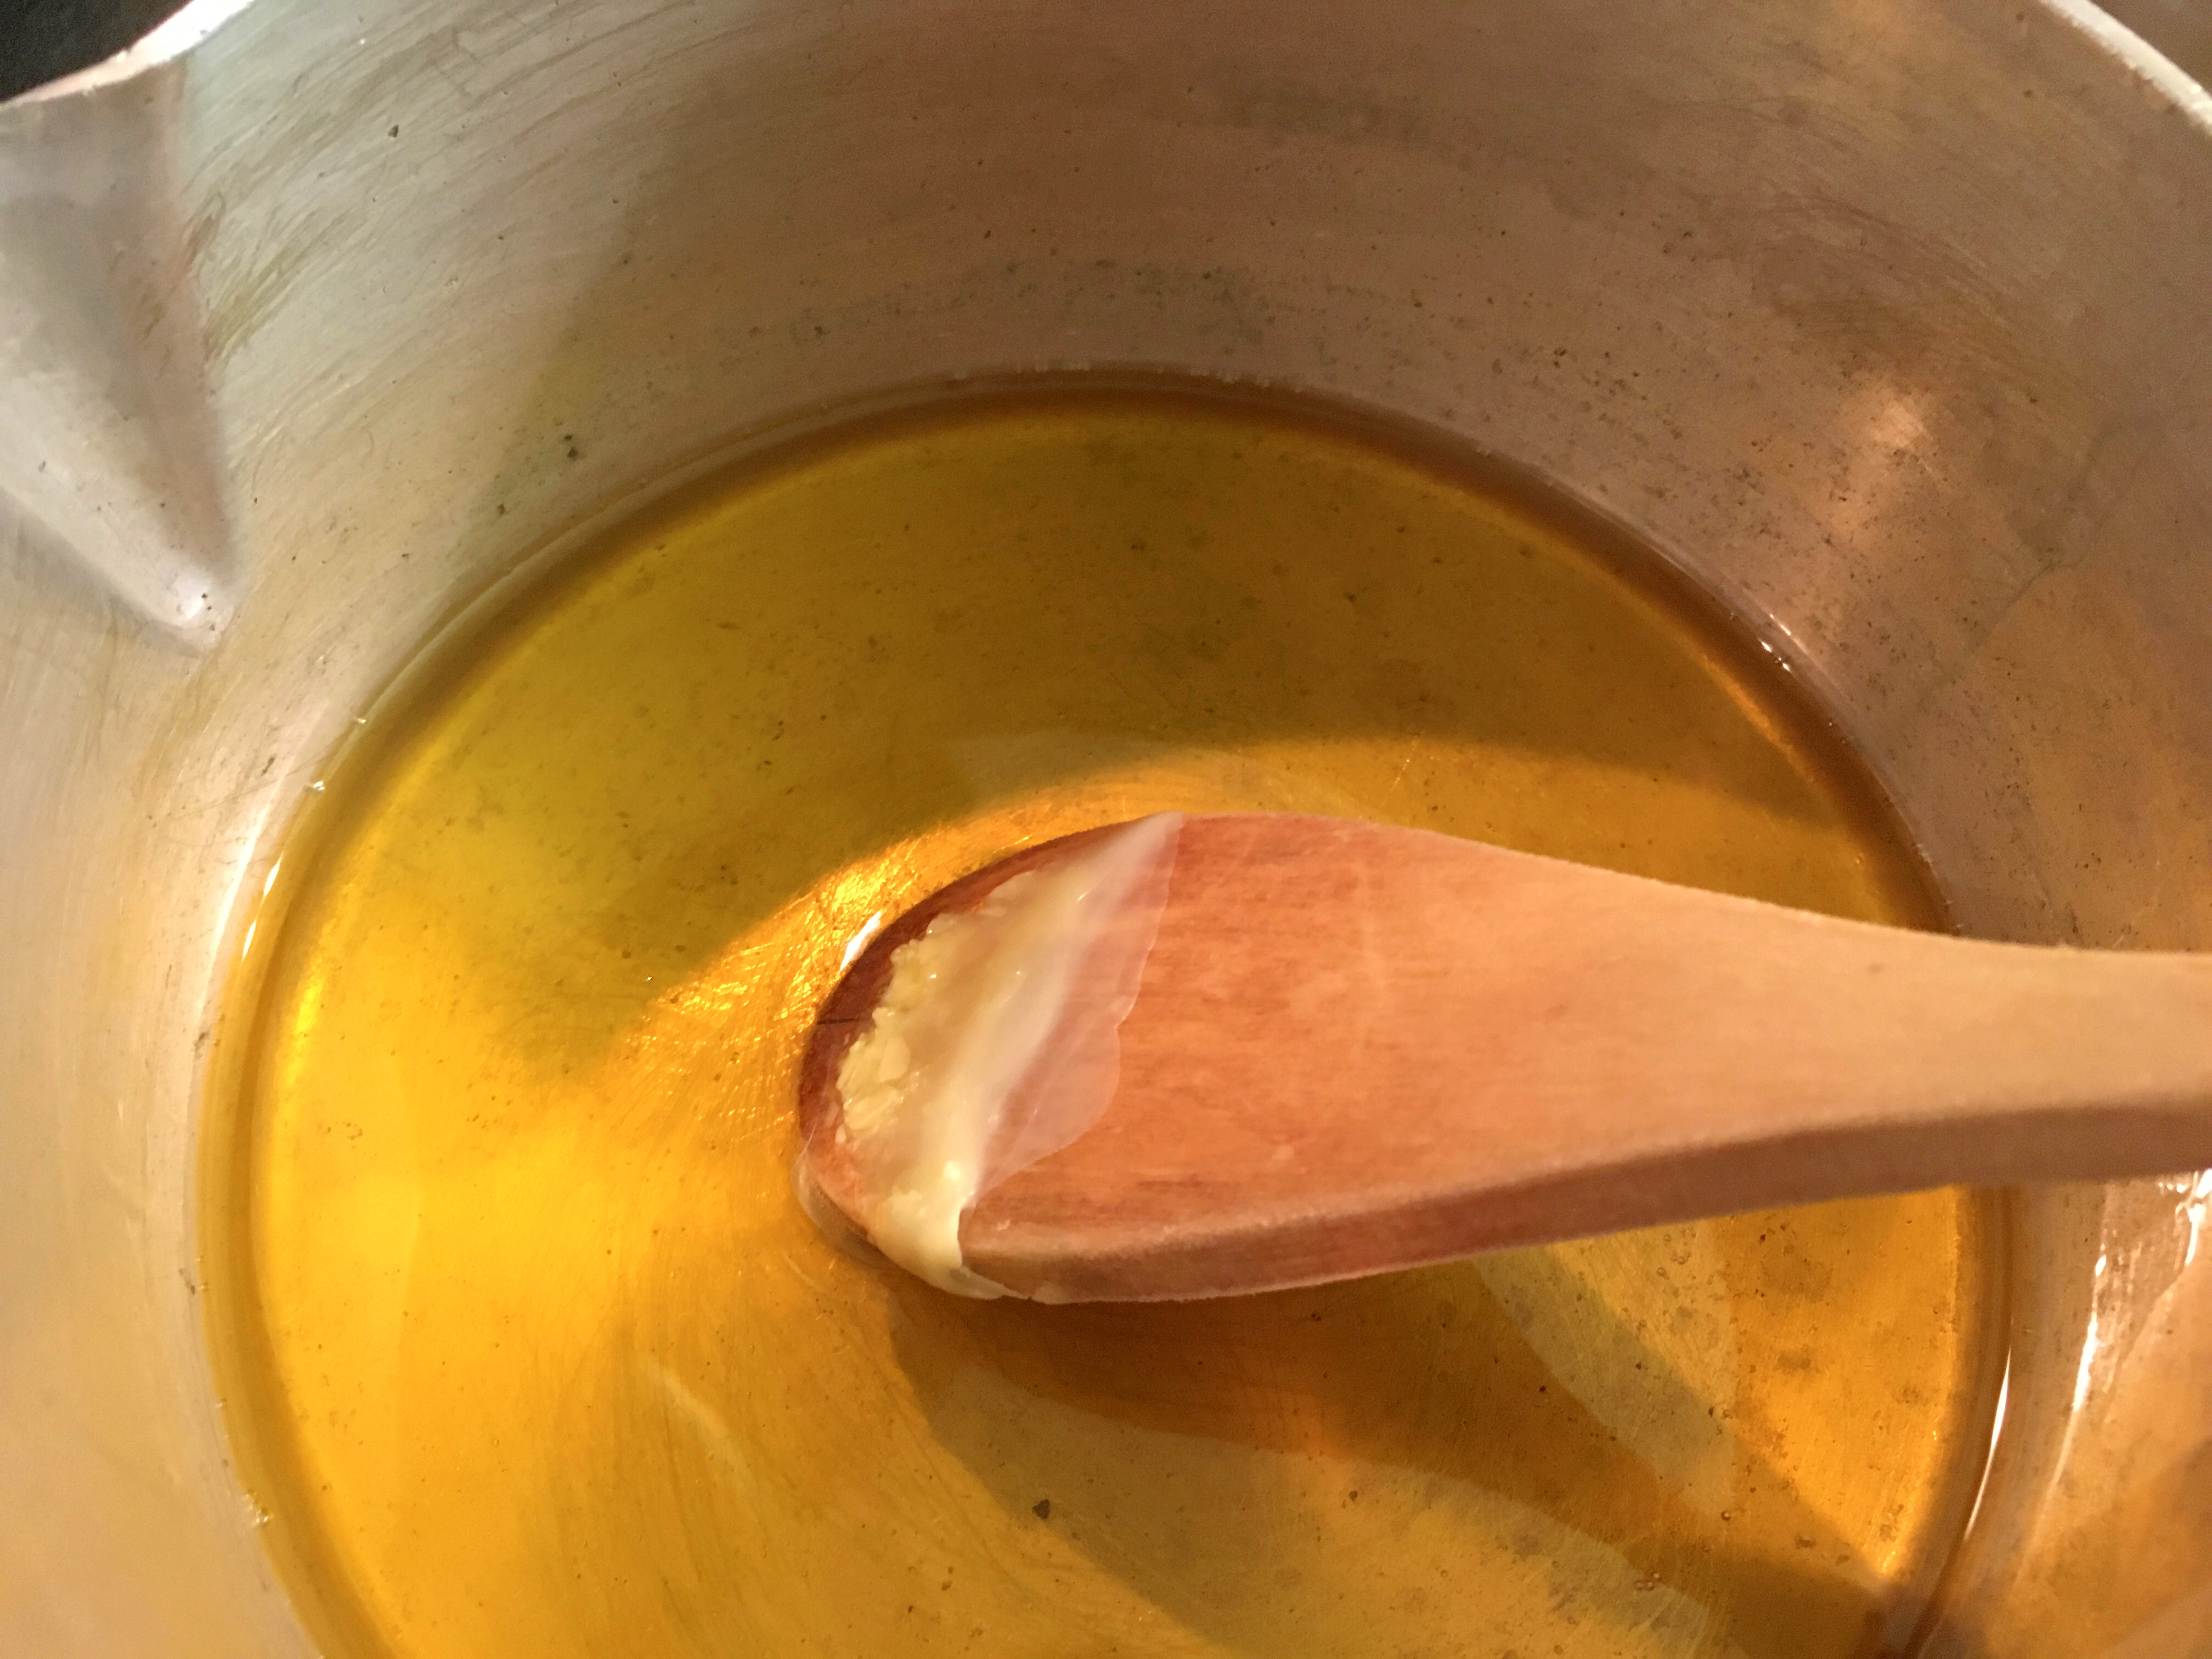
Melting the Ingredients


Pouring and Coloring the Crayons
I decided to try the madeleine mold and began to pour into the molds. I then returned the pot to the stove on low heat to keep the rest of the wax in a liquid form. (I would advise wiping down the edge of your pot before returning it to the stove to prevent the oil from dripping onto the heating element.)

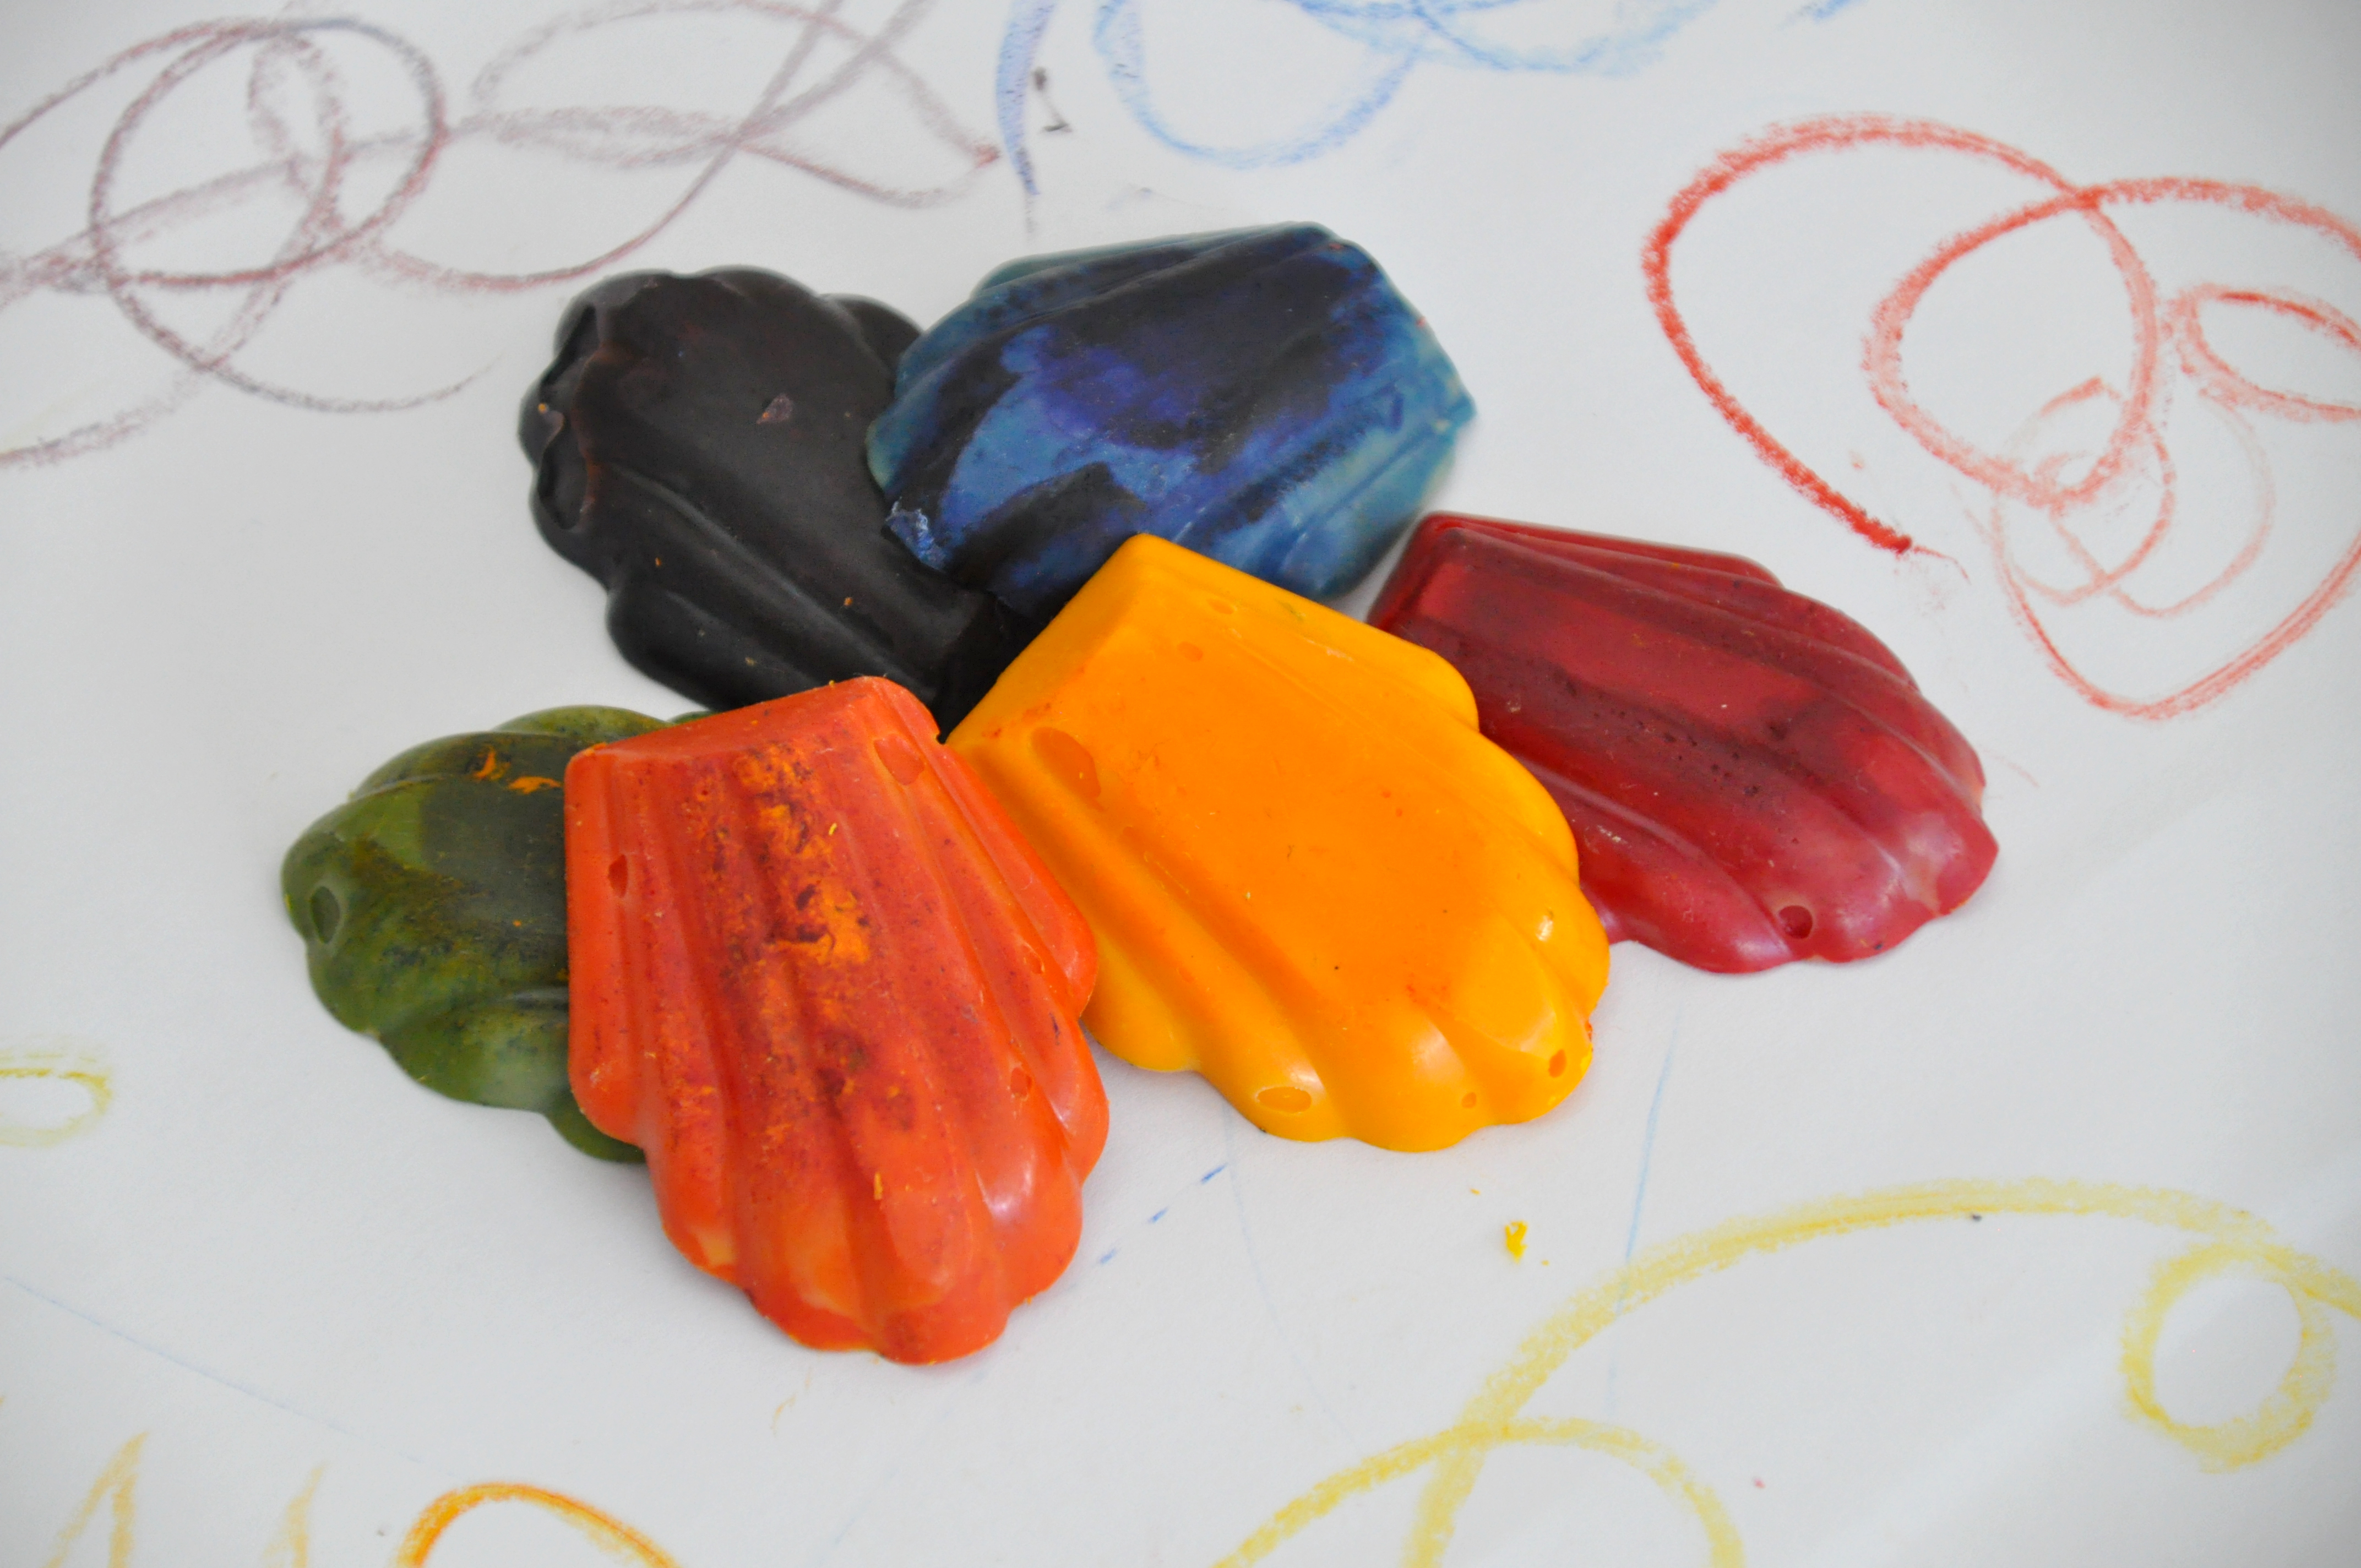
I then repeated this process to create six crayons. I tried mixing colors to make a purple, orange, and green crayon in addition to red, yellow, and blue. I found that it was helpful to wipe the toothpick on scrap paper to get an idea of the crayon’s color.. Testing the color helped me adjust the ratios, especially when mixing the tertiary colors.
I waited until they cooled down completely. I considered putting them in the fridge but was concerned that it would make certain parts cool faster than others, so I left it on the counter.
Problem Solving
After they dried, I lifted them out of the mold, and realized there are a few things I would do differently next time.


I also noticed that on the crayons where I used two colors, the colors sometimes stayed unmixed at the bottom. I think next time I will mix the colors in a small cup separately, then mix it into the wax. That way, there are fewer streaks of other colors like the yellow swirl on the green crayon above.
I might also adjust the ratios of wax to include more carnauba wax. In testing the crayons, we discovered that the colors glide a bit too well, so maybe by adding some of the harder wax, it won’t be used up as quickly.
Final Reflections


